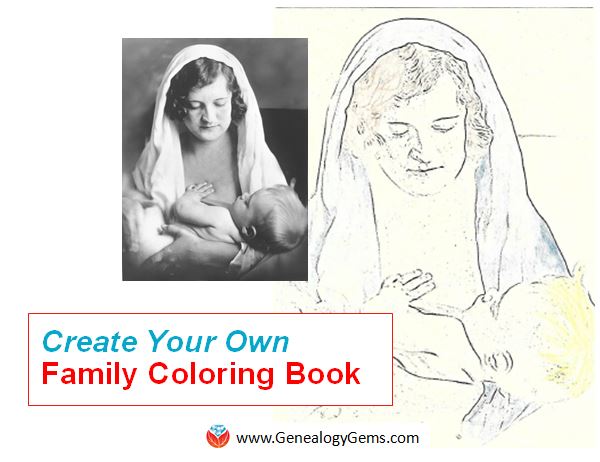
 Coloring books are all the rage for adults and kids. Let this project and these free online tools inspire you to create a coloring book to celebrate your heritage.
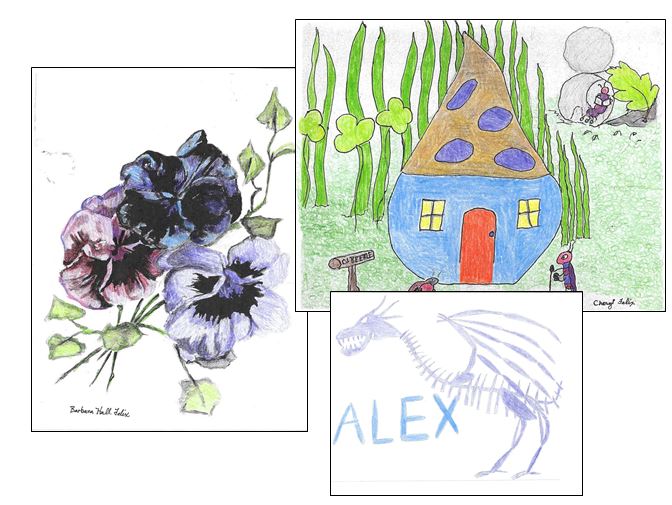
Last Christmas, my mom Cheryl McClellan created a coloring book for our extended family out of family artwork. She requested copies of line drawings from every willing relative, especially her grandchildren (ages 3-20). Then she added her own childhood artwork, some of mine, and some of her mother’s, so four generations are represented.

The flowers on the left, originally painted by my grandma, wasn’t as easily colored because of all the dark areas. My mom’s childhood drawing and my son’s, on the right, both made very “colorable” images.
Then she simply photocopied each page to make it into a coloring page. She experimented with the black-and-white settings until she got the best quality reproductions for coloring.
The grandchildren’s artwork came out the best because they created images meant to be colored (with lots of lines and spaces and no shading). The older artwork reproduced with varying degrees of success. But all were fun to include. She chose not to bind the completed book, so the pages would be easier to color, but instead put each person’s collection of coloring pages in large envelopes.
More tools and ideas: Create a coloring book
To create your own family coloring book, gather family photos (or artwork) from your family archive that would be interesting to color. Consider pictures of relatives, homes, heirlooms, or other objects of significance to your current family life or your family history. The best images will have plenty of contrast in them (lights and darks).
Choose your favorite free online photo editing tool, if you have one. Examples include Pixlr.com and Snapstouch.com. I chose Snapstouch because it’s super easy. Here are the instructions on Snapstouch:
1. From the home page, select which final visual effect you prefer: I chose Sketch. (Depending on the photo and the desired effect, you might also choose Drawing or Outline.)
2. Choose your image file from your computer.
3. Select additional options, as shown here. (In Sketch mode, you can choose a darker pencil sketch and faces to be refined).
4. Click UPLOAD. Wait for the file to upload to the site.
5. After the upload is complete, you’ll see the option to click SKETCH. Click and wait for a moment.
6. If the final image is not to your liking, play with the options (you don’t need to re-upload the photo to do this). OR switch to a different visual effect and experiment.
7. Click DOWNLOAD when you’ve got the image you want.


