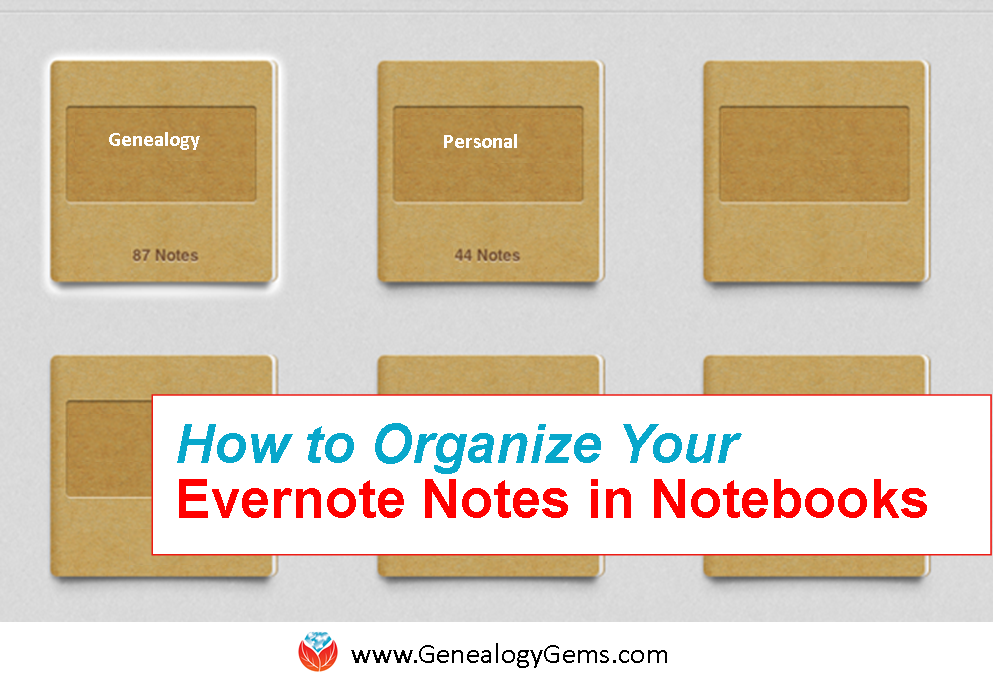
Use these step-by-step instructions to organize notes in Evernote notebooks.
Recently Donna watched one of my Evernote for genealogy webinars. She wrote in afterward to give the webinar a thumbs-up and ask this question about how to organize notes in Evernote notebooks:
“I…have been happily using Evernote for a while now so I already have lots of notes, notebooks and stacks. Got web clipper, made my Genealogy and Personal notebooks, added tags you suggested, and discovered Evernote Clearly is no longer available. But you’re right, I’ve lost some of the notes in the myriad. What is the best way to begin putting notes into the new Genealogy & Personal notebooks? Is there another video on that? Thanks for being there for us, Lisa, All our stuff can become overwhelming if it can’t be organized.”

Genealogy Gems
I’m so glad that Donna found the video helpful!
The thing about getting organized is that sometimes it can gobble up all your research time. So one approach I often recommend is just to move Evernote notes as you use them. That way you can keep researching, while getting more organized each day. As you create new notes you’ll be putting them directly where they belong, and as you use existing notes, you can tidy them up as you go.
If you feel more comfortable getting everything moved in one fell swoop, that’s good too. One way to save time is with a simple trick: decide what you have more of (Genealogy or Personal) and then move ALL your notes into that notebook. So if you have more Genealogy notes, all your notes will be in that notebook. Now you only have less than 1/2 of your notes that need to be moved to Personal.
You can move the rest to the other notebook by selecting multiple notes at once. Here’s a step-by-step breakdown:
1. Click the Genealogy notebook in the left column.
2. In the center column are all of your notes. Click the first note in your list to be moved.
3. Hold down the Control key on your keyboard.
4. Now click to select each additional note you want to move to the Personal notebook. (Use the wheel on your mouse to scroll down as you need to.) Your notes will be collecting in the right-hand window pane, and a dialog box will appear.
5. In that dialog box, click the Move to Notebook button and click to select the desired notebook from your list (ex. Personal).
6. For good measure, click the Sync button to manually synchronize all of your notes.
I heard back from Donna with this comment:
“Thank you Lisa! Within a matter of minutes I was able to move my notes and notebooks into the two stacks. Now that Personal and Genealogy are separated, I’ll follow your suggestion to tidy up the notes as I go and add all my tags (which I hadn’t realized the importance of before the video). Ahhhh! It feels so good to have it clearly organized! You rock, Lisa!”
 This website is packed with resources for using Evernote for genealogy! Click here to find free tips and videos to get started. To REALLY make Evernote work for your family history, become a Genealogy Gems Premium website member. Members have a full year’s access to my Ultimate Evernote Education for Genealogists instructional video series with their membership.


