Tours are great way to see highlights in the shortest amount of time. Why not take your relatives on a virtual family history tour? You can do just that using the free Google Earth Pro software.
Read more as Lisa shares some tips and strategies to use Google Earth to create your own unique family history virtual tour.
Hop-on Hop-off Touring
One of the perks of being a genealogy speaker is that I get to travel all over the world and speak to folks who share my passion for genealogy. And it’s an added bonus when a genealogist who attended one of my sessions emails me afterwards. I love seeing their excitement spills across my screen as they share with me how they put into practice what they learned and a genealogical brick wall came a-tumblin’ down! (I LOVE my job!)
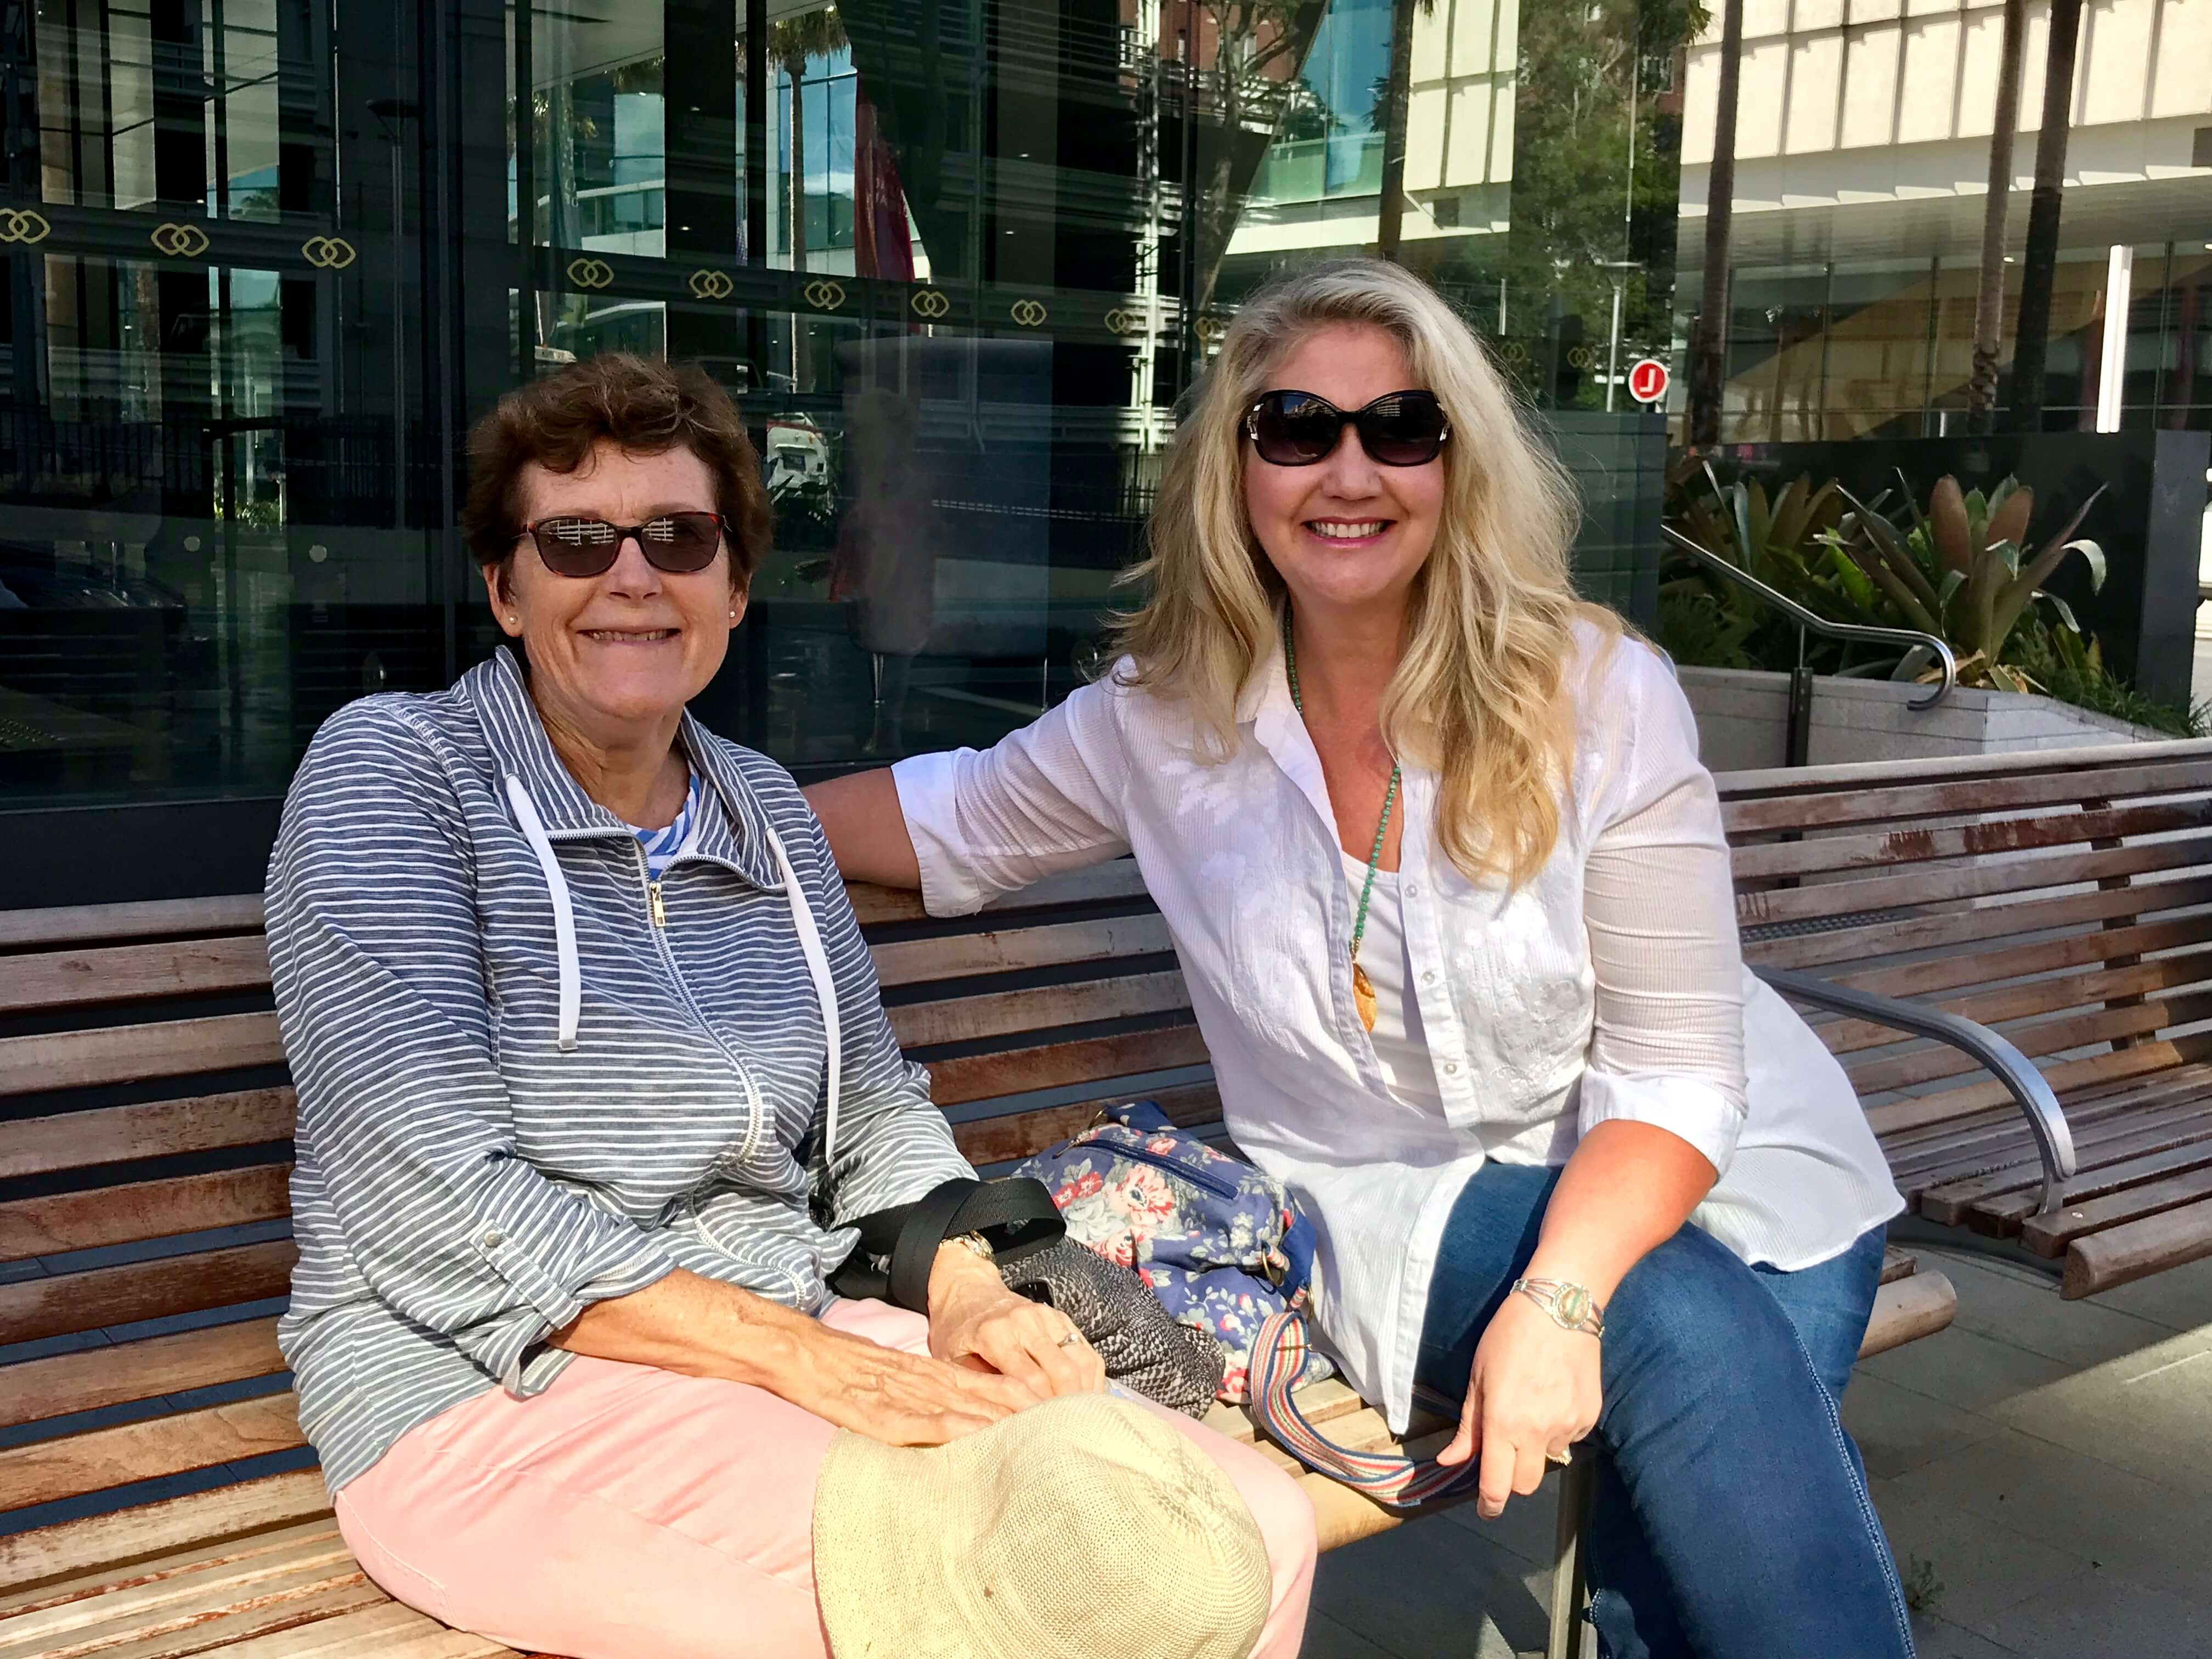
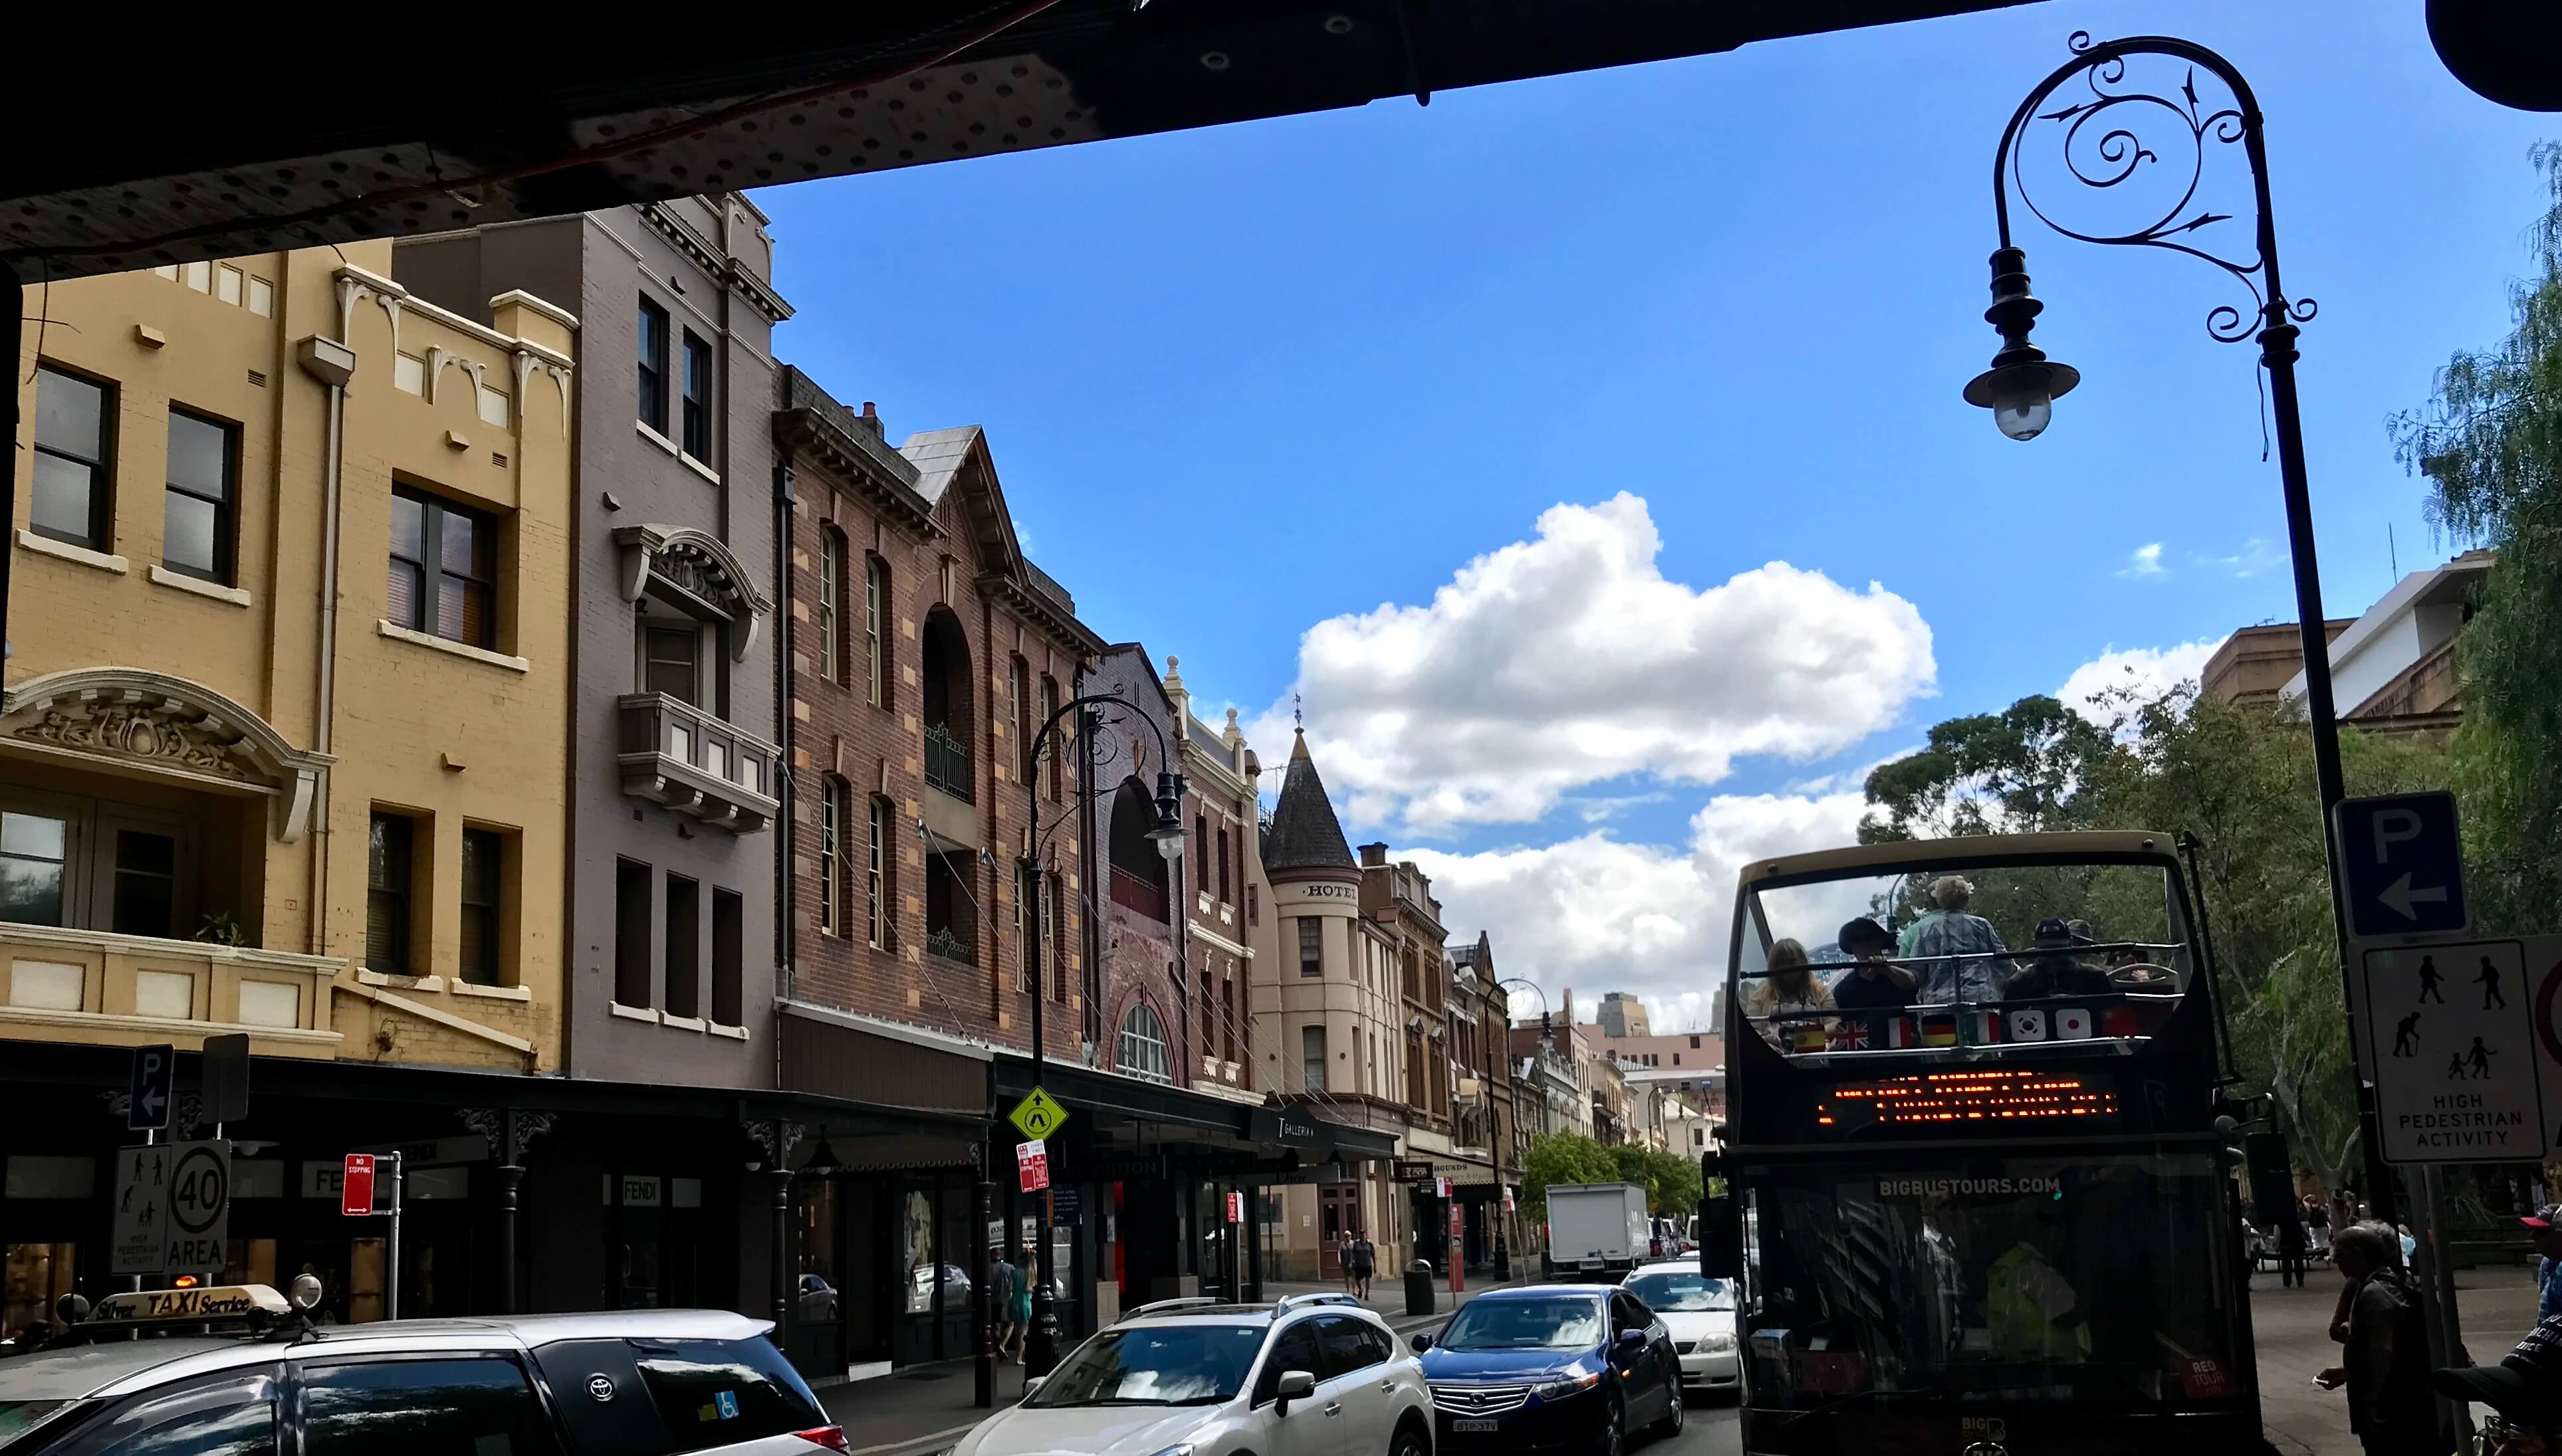
High also on the list of perks is the opportunity to see a bit of the local sites and history wherever I am speaking. Time is usually short, so I try my best to make the most of it and hit the highlights. That was certainly the case in Sydney, Australia earlier this year. There was so much to see and so little time to see it! When time is at a premium (and really, when is time ever not at a premium?) and there’s a lot to cover, I find that a tour by someone in the know is a best way to go. In Australia I turned to Genealogy Gems Premium eLearning Member (and now dear friend) Dot Elder and her husband Roly for advice on the best tour to see the city. Roly quickly dug up tickets to the Hop-on-Hop-off Sightseeing BIG BUS of Sydney. 33 stops, 2 tours, free wifi onboard, and earphones delivering recorded commentary on what was whizzing by us from the outdoor upper deck. It was the perfect way to orient the “Non-Australian” to the fabulous city of Sydney.
Family History Tour
We all have relatives who are not genealogists, and who don’t have time for or relish all the details of our genealogical findings. However, they would likely thoroughly enjoy a high-level tour of the highlights of the family tree with commentary from the expert: YOU! That kind of genealogical tour could come in many traditional forms (a book, a blog post, etc.) But if you really want to WOW your relatives, the closest thing to a Hop-on-Hop-off tour of your family’s history is what I call a “Family History Tour” in Google Earth Pro.
Google Earth Pro Explained
Google Earth Pro is a “geo-browser” (a tool for viewing geographic data) that uses satellite, aerial, and street level imagery. It also includes other geographic data that is accessed over the internet to show related information such as street names, train stations, and much more. Unlike Google.com, which is a website, Google Earth Pro is free software that is downloaded and installed on your computer. It also requires that the user is connected to the internet while using the program.
Don’t let the “Pro” name deter you. This tool is absolutely free, although just a few years ago you would have had to pay around $400 for it. If you have never installed Google Earth on your computer, you can do so here. If you already have, you can easily tell if you have the original free version of Google Earth or Google Earth Pro by looking at the icon on your desktop. If it’s blue, it’s the old version. If it’s grey, it’s Google Earth Pro.
Many people use Google Earth Pro (which from this point forward we’ll just refer to as Google Earth) for mapping, to get a view of where they are headed or where they have been, or for their child’s social studies report. All of these are great reasons to use Google Earth, but wait until you see what else it can do!
One of the most dazzling features of Google Earth is Street View. By clicking the Street View icon (often referred to as the “yellow peg man”) and dropping him on a blue line on the map, you can get a panoramic view along many streets in the world. Street View was launched in 2007 in several cities in the United States, and now includes cities and rural areas worldwide. Check out where Google will be capturing Street View next here on their Street View webpage.
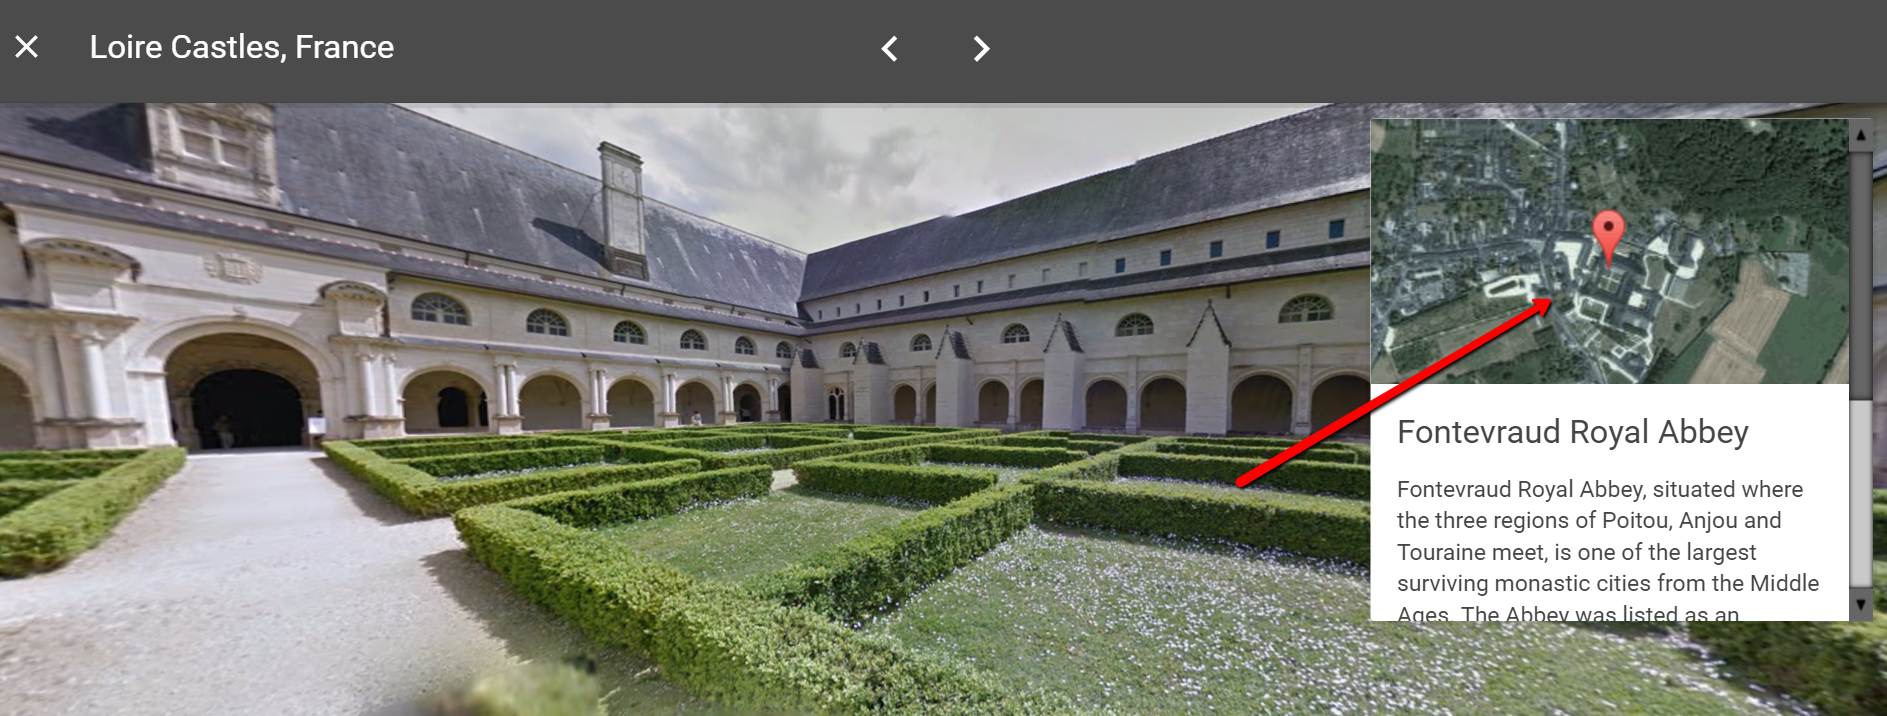
Google Street View also invites you to virtually tour many wonderful places on their highlights reels found here. Not only can you view the streets, but you can enter places you never dreamed possible. “Walk” into the abbeys and garden castles of Europe or dive deep into the ocean. Wherever you have always wanted to go is just a click away.
Example of a Family History Google Earth Tour
So what does a family history Google Earth Tour look like? Hop on the bus by clicking the video below and I’ll show you.
5 Steps to Create a Family History Google Earth Tour
The process for creating a family history Google Earth tour is easy and fun.
1. Outline the story: Like with genealogy research, you can save loads of time with some initial planning. Your first decision is which “story” you want to tell. Keep in mind that the average person’s attention span is short, so trying to include all the locations in your family tree is a recipe for disaster. Instead, pick one portion of your tree. In my example above, I told the story of a 10 year period that my great grandparents lived in San Francisco. This turns a tour into a story, which is much more interesting.
Once you have your story selected, make a list in chronological order of all of the significant locations and events that occurred. This will be your road map for creating your tour.
2. Create a tour folder: Since you will have several locations, it’s best to collect them all in one place. In Google Earth, that place is a folder.
To create a folder, go to the Places panel and right-click on My Places. Select Add > New folder. In the pop-up dialogue box, give your tour a title, and add any description you would like. Click OK to close the dialogue box.
3. Set placemarks at locations: Type the first location on your list in the Search box and fly to that location. Then click once on the folder you created to select it. Click the placemark button in the toolbar at the top of the Google Earth screen. Another dialogue box will pop-up. Fill in the title of the location (tip: keep it short so it doesn’t clutter up the map) and fill in the description (the reason this location is significant.) Click OK to close the placemark dialogue box. Now the pushpin placemark will appear on the map, and it is housed in the tour folder. When you click the placemark, the description you wrote will appear.
The placemark doesn’t have to be a pushpin icon. You can customize it by right-clicking on the placemark and selecting Properties. This will reopen the placemark dialogue box. In the upper right corner of the box you will see the default icon of a yellow pushpin (or you will you will see the last icon you used if you have customized icons previously.) Click the icon and then select for the collection of icons, and click OK. You can also change the color of the icon, upload your own, or have no icon at all.
4. Save your work: Google Earth currently doesn’t auto-save your work, so you will want to do so every few minutes as you work on your family history tour. Go to File > Save > Save My Places. Files saved in MyPlaces are only visible to you and reside on your computer’s hard drive. They are not stored in the cloud.
When your tour is complete, you will want to save the file to your desktop for easy access. In the Places panel, right-click on the tour folder and select Save > Save Place As and save it to the desired location on your computer. The file will be zipped by Google Earth so that all the components are neatly packaged in one file.
5. Share with others: Now that your tour is zipped and saved, you can email it to your family members. Simply attach it to your email as you would any document or photo. It can be helpful if you let your family member know that if they don’t have the free Google Earth Pro software already installed on their computer, they will want to do so before clicking the file. I like to provide a handy link to the download page to make it easy for them. Anyone with Google Earth on their computer can click the attachment and the computer will automatically recognize the file type and open it in Google Earth.
What Story Will Your Family History Google Earth Tour Tell?
Now I’d like to hear from you. What is the first story in your family tree that you would like to tell through a family history Google Earth tour? Sharing your ideas in the Comments below will help you solidify your idea and will certainly inspire others.
Resources:
We’ve just scratched the tip of the iceberg. Get in depth instructions from these resources:
Book: The Genealogist Google Toolbox
Video Tutorial: Google Earth for Genealogy

About the Author: Lisa Louise Cooke
Lisa is the Producer and Host of the Genealogy Gems Podcast, an online genealogy audio show and app. She is the author of the books The Genealogist’s Google Toolbox, Mobile Genealogy, How to Find Your Family History in Newspapers, and the Google Earth for Genealogy video series, an international keynote speaker, and producer of the Family Tree Magazine Podcast.

