Blog

How to Create Captivating Family History Videos Episode 2
In this blog and video series I’m showing you how you can create captivating videos about your family history quickly and easily with Animoto.
In the First Episode
In episode 1 we laid a foundation for the family history video that you are going to create. Doing this will save you time and ensure a cohesive, well-told story. We also:
- defined your audience
- identified and outlined the story that you want to tell
- collected the content that you will include in your video
If you missed episode 1, you can watch it below:
Get a Free Animoto.com Account
The first thing to do is to go to Animoto here and sign up for a free trial account, which gives you the full power of Animoto Pro. No credit card is required. This trial period is the perfect opportunity to test drive Animoto and see just how easy it is to use. As I’ve said before, if you can click, drag, and drop, you can make videos with Animoto.
The videos you create during the trial will be watermarked, but still downloadable and shareable. If you decide to use Animoto beyond the trial period, there are several pricing plan options. You can purchase as little as one month for around $16 (check their site for current pricing). If you’ve done your prep work like we did in episode 1, you can create several videos in that time period.
OK, I know you’re anxious to get going, so let’s create a video!
Create!
It’s super easy. Once you’re signed into your account, click the Create button.

Style
First up, select a style that fits your story. Here are some of my favorites for family history:
- Memory Box
- Antique Bouquet
- Remembrance
- Vintage Voyage
- Rustic
You’ll notice that some styles have a Premium banner. Those require a Premium subscription. However, if you’ve opted for a Personal level subscription you still have lots of wonderful styles to choose from.

Click on a style that catches your fancy and watch a preview of what it will look like. When you find the one you want, click the Create Video button on that style page. This will load the Video Creator.
Music
The style you chose will include a song, but you can change that if you want to. To select a new song, click Change Song, and you can pick a song from the Animoto library.
You can also upload your own music mp3 file from your computer. (Remember to keep copyright in mind, and make sure you have the rights to use the song.)
But wait, you can add more than music! You can also upload an audio file, such as a family history interview, or even an mp3 file that you created that includes both music and words.
Adding Pictures & Video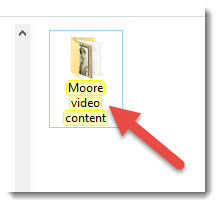
Now it’s time to add your photos, images, and video clips. Of course that’s easy because in episode 1 of this series you created an outline for your story, and you copied the files you wanted to use to illustrate that story into a folder on your computer. So you’re all set to go!
There are two ways to add files. From the menu, click Add Pics & Vids, or on the timeline click the plus sign in the empty box. In the pop up window you’ll find lots of options for imagery, including stock photos from Animoto. But for now, let’s add the images you put in the folder on your drive (see episode 1).
Under Your Computer click Upload Pictures and Video. Navigate your way to your content folder on your computer’s hard drive. Click to select the first image, and then you can select them all by holding down the shift key on your keyboard, and clicking the last image in the folder. Press Enter on your keyboard to add them to your project.
You can rearrange the order of your images and videos by dragging and dropping them with your mouse. If you decide to eliminate an image, simply click to select it and from the menu click Delete.
Text
Next, we’re going to add text to your videos, creating title cards. Again you can do this from the menu, or just click the plus sign in the empty box on the timeline, and then click Add Text.
In the pop up box you’ll type a title (or the main text) and then you have the option to add a subtitle. This is where the outline we created in Video 1 comes in so handy! When you’re done, click Save. And don’t worry because you can always go back and change any text at any time.
Title cards are great for the beginning and ending of your video and also for transitioning to different parts of the story.
Simply click and drag the cards into the order that you want them.
You can also add text captions to each of your images. Hover your mouse over the image and click Caption under the image. In the pop up window containing your image, click to place your cursor in the text area, type in the desired text, and then click Save.
Spotlighting an Item
You may have a few images or title cards that you want the “camera” to spend a little more time on, thereby spotlighting it. To create that effect, just click to the select the image or title card, and then click Spotlight in the menu. I particularly like to Spotlight title cards so that the viewer has plenty of time to read them.
Previewing
So let’s see how this looks so far, and to do that we’re going to click Preview Video. You can preview your video at any time during the production process.
A low resolution version of your family history video will be created in about 15 seconds. Then you can watch and see what little tweaks and changes you want to make. Click Continue Editing to head back to the timeline and keep working.
Next Steps
I hope you’re getting excited about your video projects. Next time we get together, we’re going to bring our projects down the homestretch and produce them into glorious shareable videos.
If you can’t wait and you want to jump in right now and get started, go for it! Click here to get started with Animoto.
Watch episode 2 below:
How and Why to Create an Alternate Family Tree
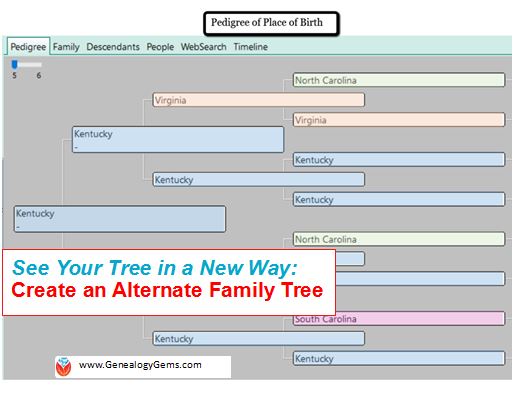
 Use an “alternate family tree” to emphasize unique or interesting patterns in your family history, such as eye or hair color, birthplace, age at death, or adoption. Here’s how to do it–and WHY.
Alternate family trees are popping up all over social media and genealogy blogs. Have you seen them? Some trees emphasize the age at death, cause of death, or birthplace for each individual.
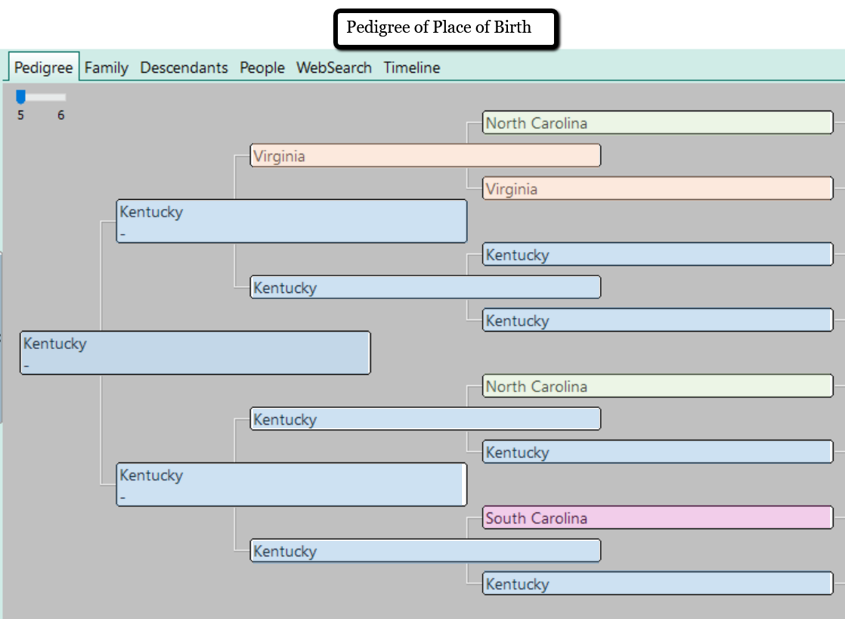
There can be tremendous value to creating trees like these. Recognizing patterns can help tear down brick walls. Imagine a pedigree chart with birth places instead of names. It’s a new way to see migration patterns. I also love the a-ha moments I have! For example, the time I realized my hair and eye coloring likely came from my maternal great-grandmother who I have a special connection with.
I can share these quick “did you know” revelations with my relatives on social media (totally shareable images!) or at family reunions. Images are often more powerful than words because they are easy to glance over. Your family won’t be able to resist taking a look, and most importantly, sharing your tree images with other family members. Shared images can generate new information when shared with the right relative. Hey, here’s an idea: you could even blow up your alternate family tree to poster size for the next family reunion!
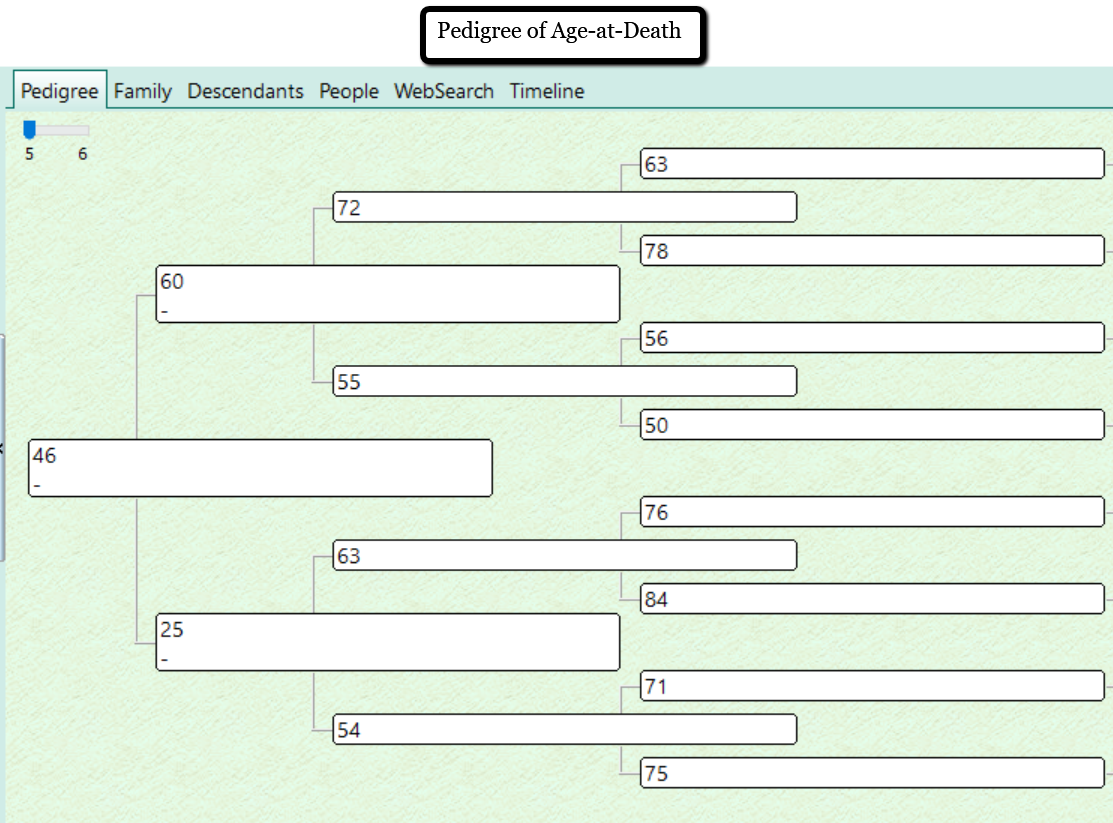
Take a look at these examples of my own alternate family trees for age at death (left) and birthplace (right).
Other alternate family trees may focus on occupations, schooling, or color of eyes or hair.
I was inspired to create an alternate family tree that had significance to my own immediate family. We have a lot of adoption in our family tree. My three children are adopted, my husband is adopted, and several of my great-grandparents were raised by other family members. This is a unique perspective. Blood lines are important, but even more important are those people who influenced my family the most as caregivers.
I created a pedigree that indicates who, if anyone, the father and mother figures were. Take a look:
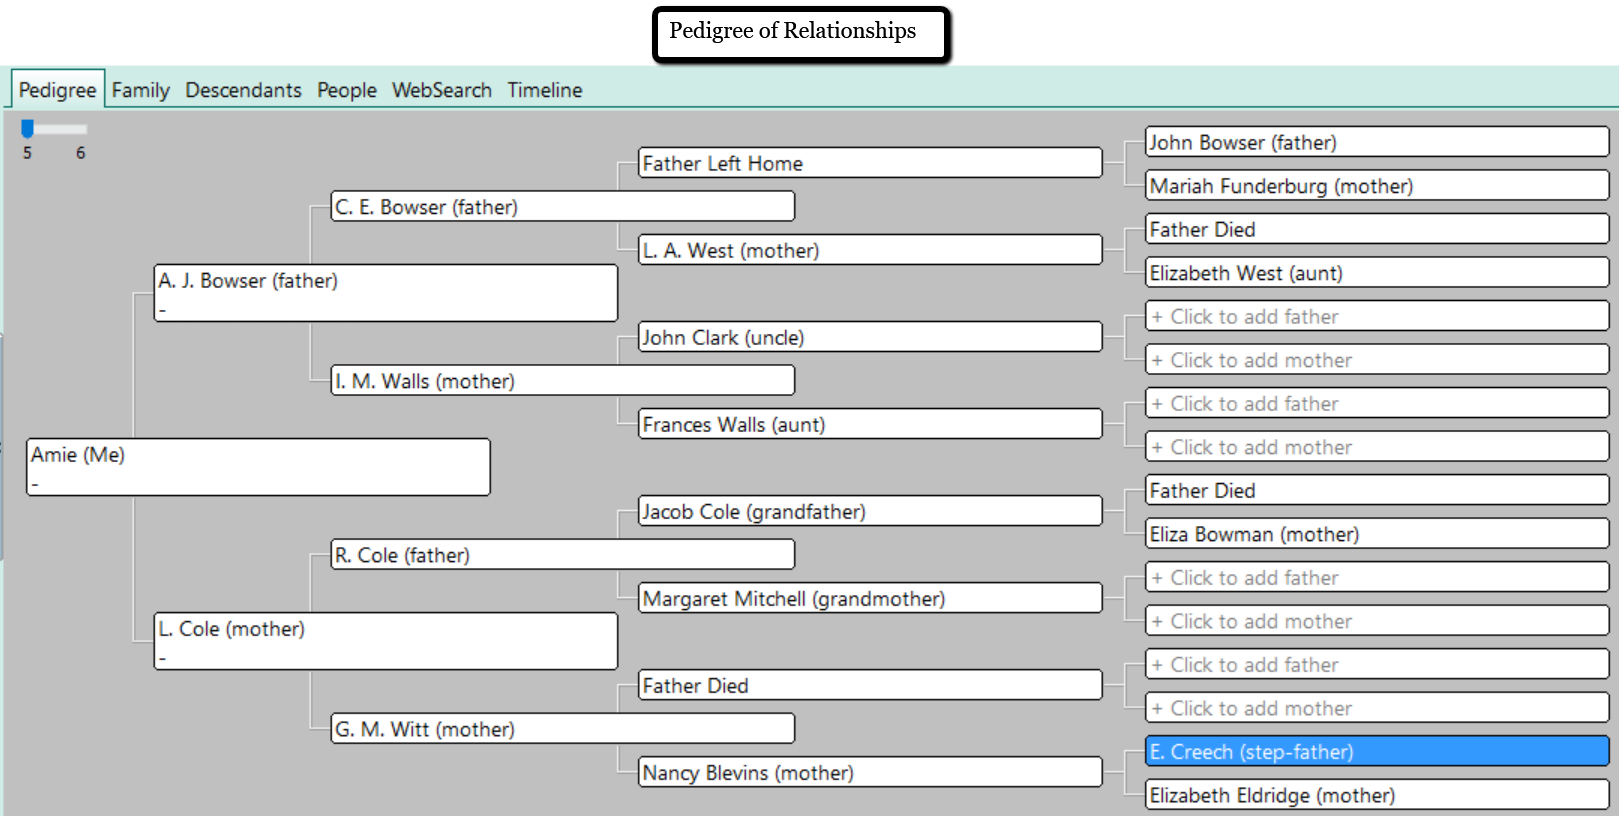
Did you notice that every set of my great-grandparents had one or more parent die or abandon them? I was shocked to see this significant ancestral dynamic. I had never considered the likely effect of such a family tree. It was fascinating!
How to Create an Alternate Family Tree
The easiest way to create an alternate family tree is to use a genealogy software program. I use RootsMagic. RootsMagic is a genealogy software program for PC and Mac computers. (Note: To use RootsMagic on your Mac computer, you will need to use the MacBridge add-on.) You can purchase the full version of RootsMagic for $29.95 or you can use the RootsMagic Essentials for free!
There are two ways to make an alternate family tree using RootsMagic. You can start from scratch or use the wall chart report.
Starting from Scratch
To start a new pedigree:
- click the “blank sheet of paper” icon at the top left. Name your tree with a title that will indicate its purpose. (Example: Age-at-Death Tree)
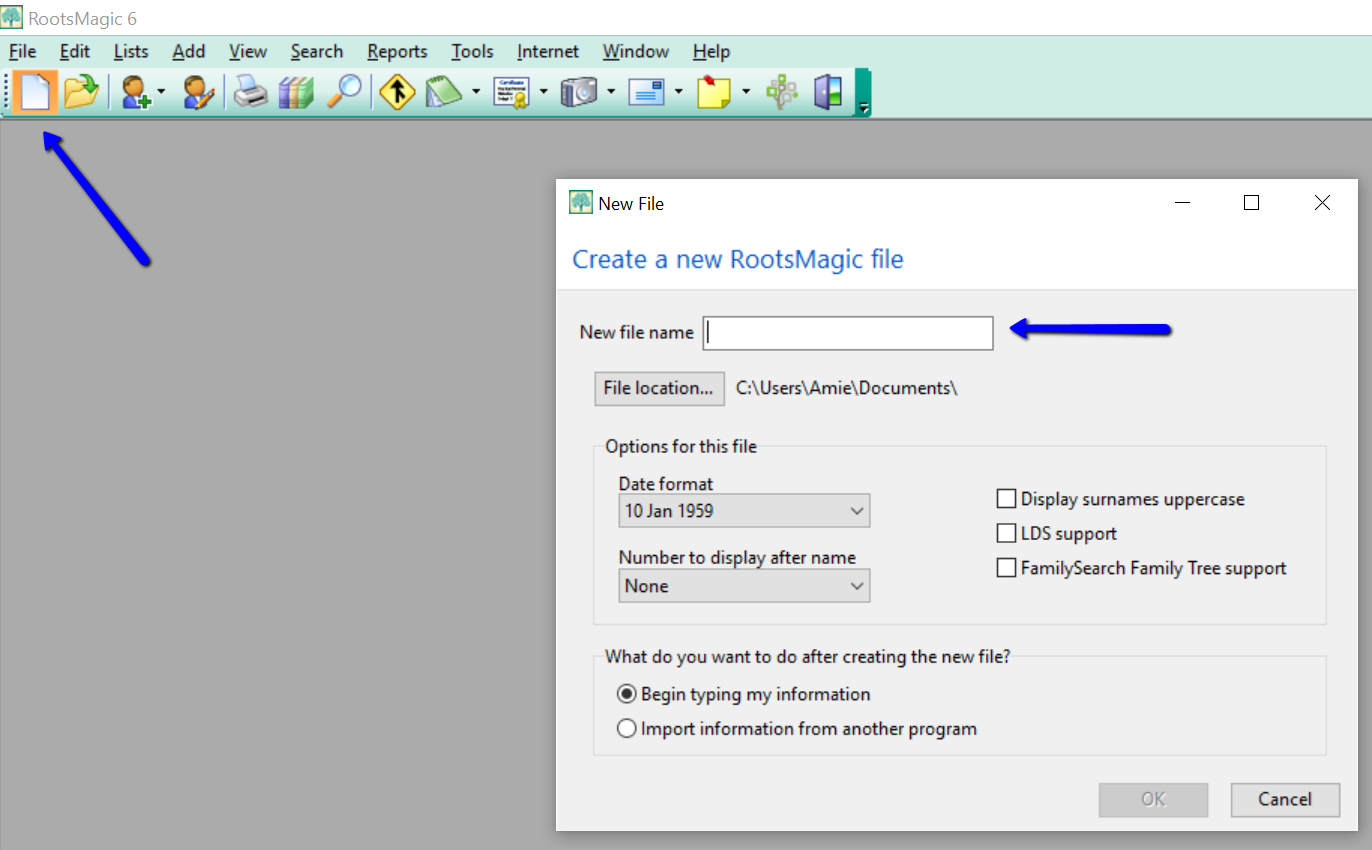
- Instead of using the names of your ancestors, use whatever alternate pieces of information you wish in the name fields.
- Now, you simply click “Reports” across the top and choose “Pedigree.” You can generate the report and print out your new alternate tree.
Using an Existing Tree
If you already have your tree on RootsMagic, you can use the Wall Chart feature to create trees with unique data.
As an example, if I wanted to create an occupation family tree, I would first need to enter that data for each person by clicking on the individual and then “Add a Fact.” From the drop-down list, choose “occupation.” Type in the occupation in the description field at the right and click “Save.”
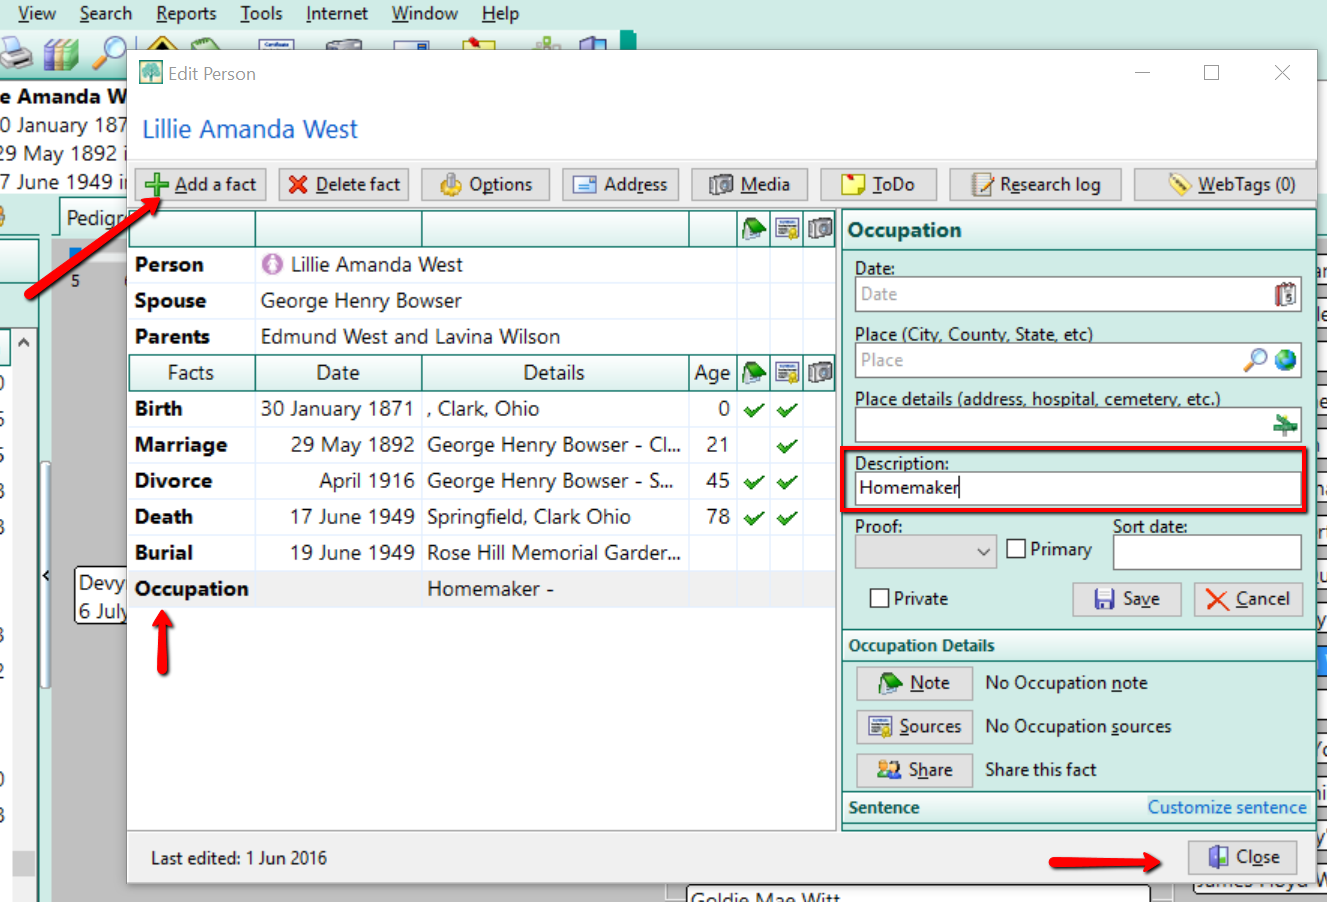
Add the occupation to each individual and when you are ready to print your alternate family tree, simply take the following steps in the image below.
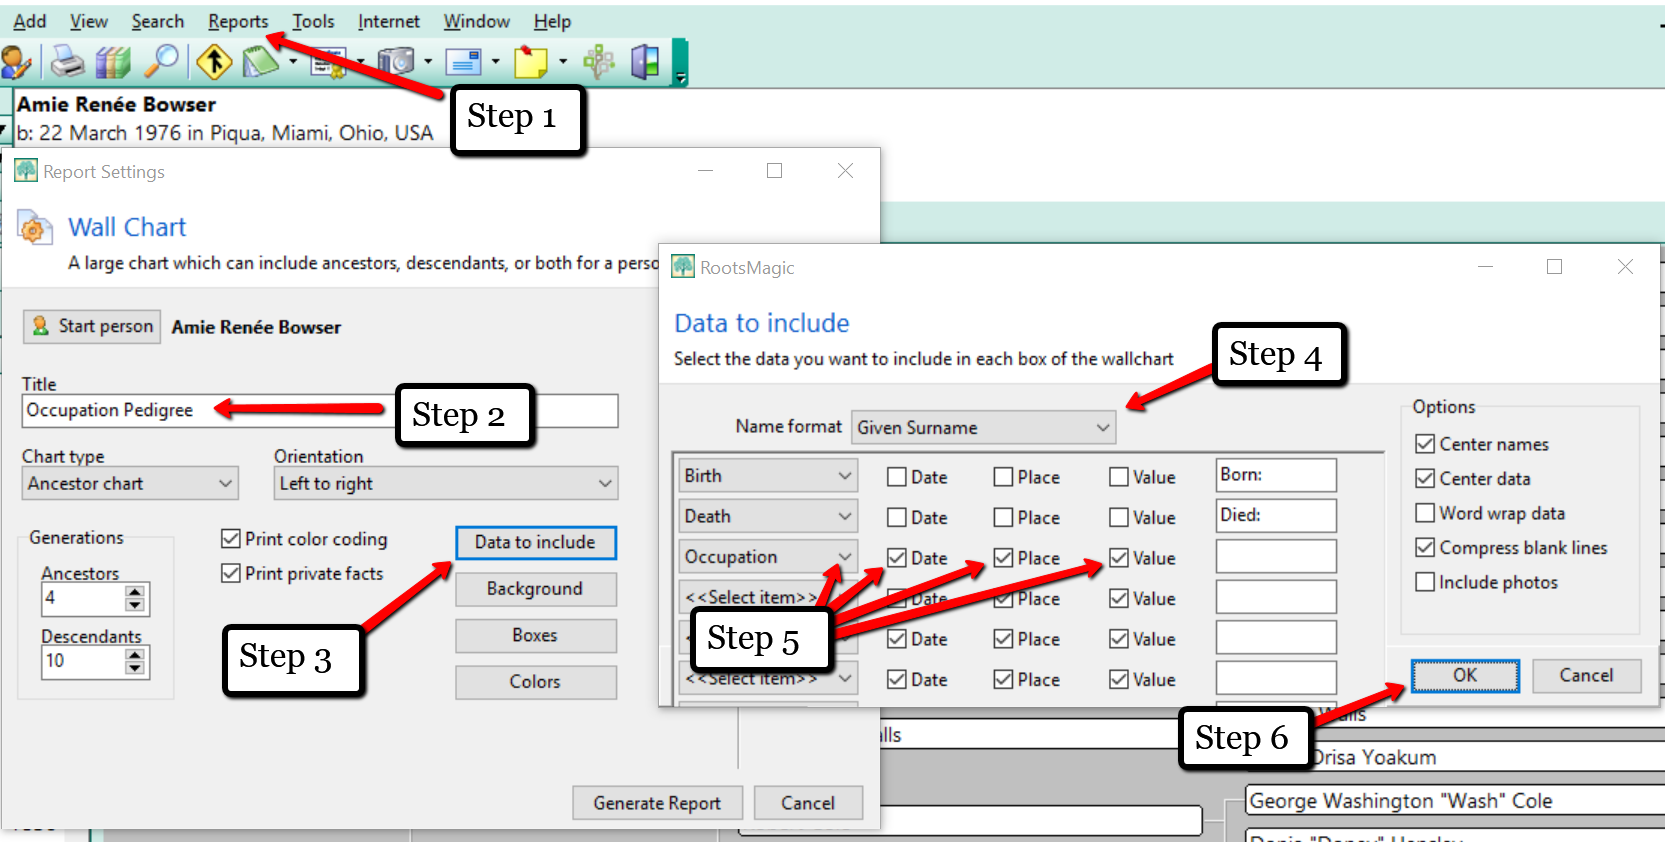
After taking these six steps, it is time to “Generate Report.” You will be taken to a new screen where you will see your creation.
Once you have completed your alternate tree, it’s a great idea to print it and lay it out in front of you. You might ask yourself, “What does this information tell me?” The interpretation of the data will be unique for everyone. Maybe your “Cause of Death Tree” will make you think, “Oh no! I should really be watching my heart health!”
I hope that you will take the opportunity to create an alternate family tree or two today. Genealogy Gems Premium website members who like this idea will also want to listen to Genealogy Gems Podcast #136, due out later this month. In that episode, Your DNA Guide Diahan Southard goes in depth on the value of gathering family health history.
How does this view of your family tree make you feel?
We love to hear from you so leave your feelings or comments below,
and please feel free to share your alternate family tree on our Facebook page!
More Family Tree and RootsMagic Gems
Meet Me at Midwestern Roots 2016 in July
Join me at the Midwestern Roots 2016 conference in Indianapolis on July 15-16! Early-bird registration rate applies until June 30.
I look forward to speaking at Midwestern Roots 2016 in Indianapolis next month! Will you be there?
This conference has a unique Midwest vibe: welcoming and unpretentious but absolutely solid in the value and education it offers. Indianapolis is easy to get to from many U.S. cities. The conference venue itself, located on the outskirts of the city, is also easy to reach and has free parking.
 “This year’s theme is #YourStory, and many sessions focus on the technologies that are changing the ways genealogists research and share their family history,” says the conference brochure.
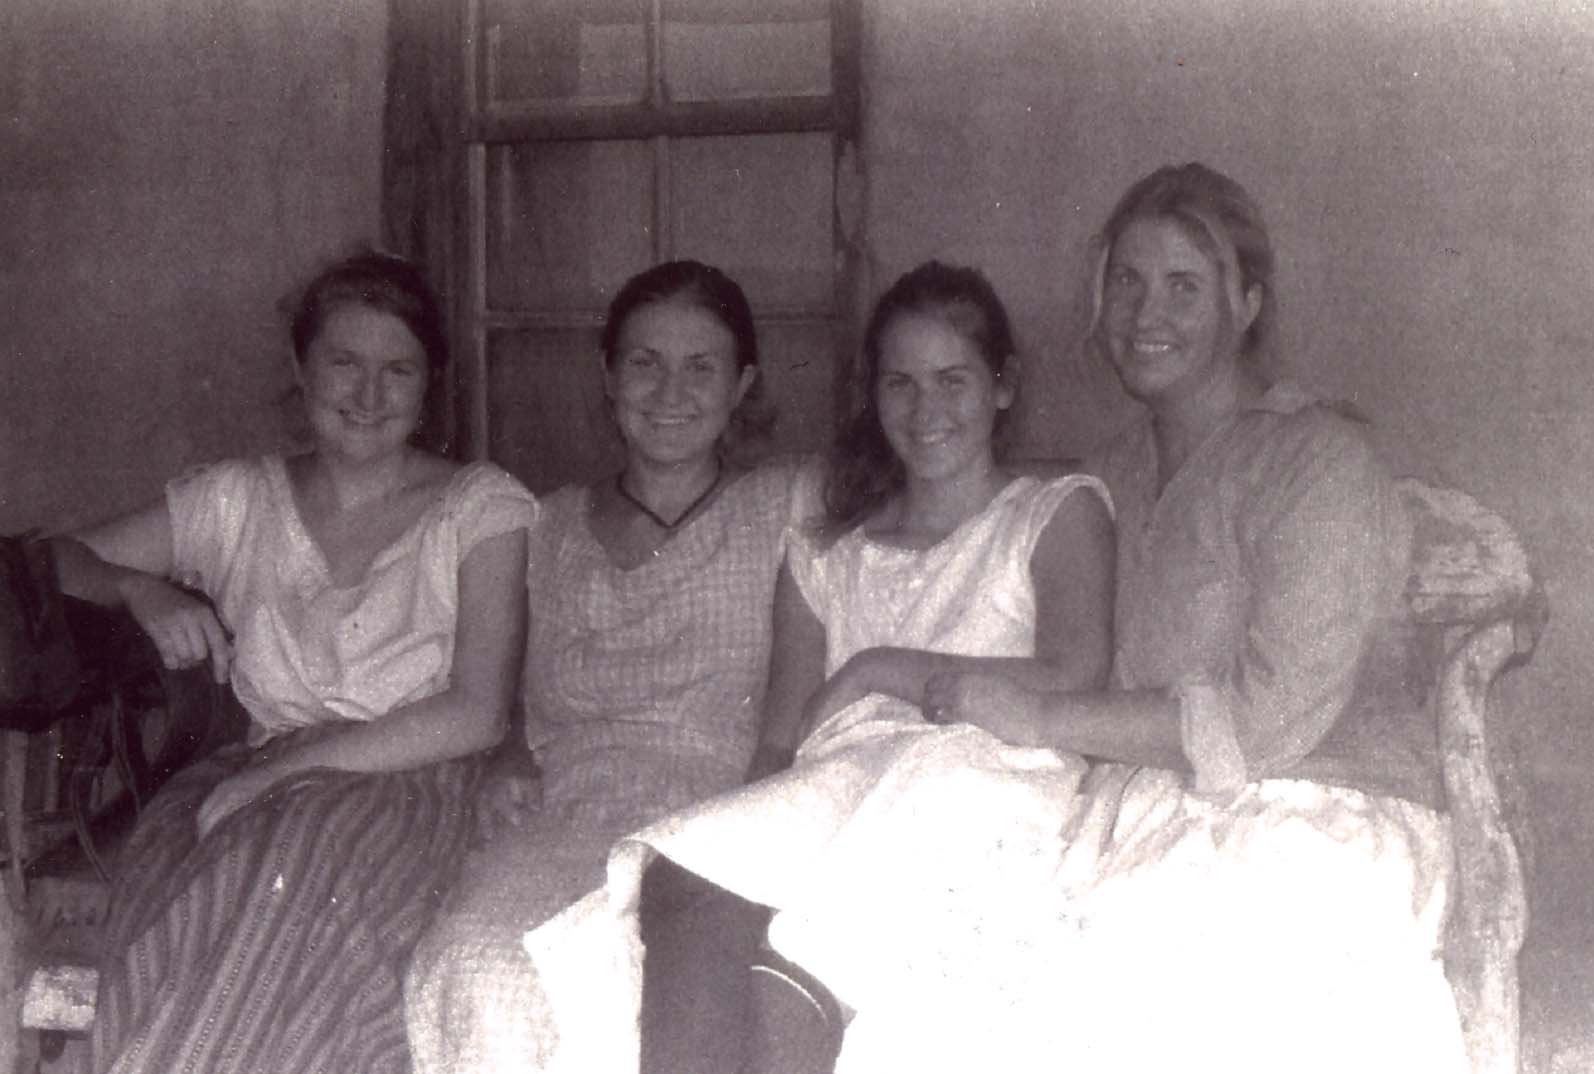
I’ll be sharing a bit of my own story during an evening banquet: memories of the summer my family spent living like it was 1867 on the TV show Texas Ranch House. I’ll go behind-the-scenes of ‘not so reality’ reality TV, reveal what it was like to live the daily routine my Texan great great grandmother may have, and most importantly, share the ways in which the experience drew my family even closer together.
Join me for my classes:
- How to Use Evernote for Genealogy
- Google! Everything New that You Need to Know for Genealogy
- How to Reopen and Work a Genealogical Cold Case
Lots of fabulous presenters (including some who have been on the Genealogy Gems podcast) will be at Midwestern Roots. Curt Witcher is giving the Friday opening session (he joined us to dive deep into U.S. census records in Genealogy Gems Podcast episode 10). CeCe Moore will talk about DNA, as she did on Genealogy Gems Podcast episode 178.
Here’s the scoop:
WHAT: Midwestern Roots 2016
WHEN: July 15-16, 2016
WHERE: Indianapolis Marriott East 7202 E. 21st St, Indianapolis, IN
REGISTER: Click here—Early-bird registration discount ends June 30!
Pre-conference activities on July 14 include an all-day workshop for librarians and volunteers who work with genealogy sources as well as computer labs, writing workshops, preservation workshops and research opportunities for all attendees.
Bring my lectures to you
If you can’t join us in Indianapolis, Genealogy Gems Premium website membership brings my most popular classes to you. Membership gives you a year’s worth of on-demand video classes and handouts. Among these classes are all the topics I’m covering at Midwestern Roots 2016 in even more depth including:
- an entire Evernote for genealogy series,
- three classes on my Google search methodology,
- a “cold case” research class and a companion video on finding living relatives like a private eye.
Click here to see the full list of video classes, and consider giving yourself the best value in on-demand genealogy education around!


