by Lisa Cooke | Nov 19, 2013 | British, Conferences, Who Do You Think You Are?
Recently I heard from podcast listener Julie, a New Zealander living in Kuwait. My podcast made her aware of Who Do You Think You Are? Live, the huge
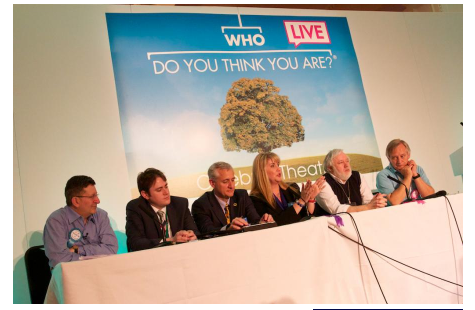
Here I am in last year’s experts panel
family history conference coming up in the U.K. in 2014. She’s bought her plane tickets but, she says:
‘I am overwhelmed! I have never been to any sort of family history event, fair, society meeting – this will be my very first one. I’m not even sure which entry tickets I would be best to get – I am going for the three days but am wondering if a VIP ticket the first day might be a good way to get introduced and then get the two day ticket for the remaining days. With all the SOG workshops, DNA workshops, experts, the “Heirloom Detective,” exhibitors and so much more, I’m not sure how to get the most out of the three days.”
To anyone else feeling overwhelmed at the prospect of attending WDYTYA Live, let me see if I can be of some help:
RE: VIP Day – Since I have been a presenter the last three years, I didn’t deal with tickets. However, I can tell you that the most popular speakers do fill up (particularly the celebs). Also you can spend valuable time standing in line without reserved seats. So if you are keen to see particular talks and want to save time, then a VIP day would probably be really nice. If you’re willing to get in line early and wait, then you can certainly get in to just about any talk you want with pre-purchased workshop tickets. At least that’s how it seemed to me.
RE: Workshop vs Hall. While it would be easy to just spend all day every day in the workshops, in my mind it is the exhibit hall that is really special. They do the exhibit hall much better in London than they do here in the U.S. It is huge, and exhibitors incorporate a lot of hands-on opportunities. You could easily spend one full day just on exhibits. I would allow at least 1/2 day for the “vendors” and 1/2 day for the “society tables” and fill the rest of my 3 days with lectures and workshops.
The photo specialists are extremely popular. Bring photos with you if you want them looked evaluated, but prepare to queue up for a very long time. (Perhaps get in line first thing one morning.)
Here’s one last important tip: be sure to follow the event blog and keep an eye out on the website as they tend to announce new and last-minute events right up until the end.
I hope that helps you all! And to Julie-from-New-Zealand-in-Kuwait: thanks so much for listening to the podcast!
by Lisa Cooke | Nov 18, 2013 | 01 What's New, FamilySearch, iPad, RootsTech, Technology
 Thinking about attending RootsTech in Salt Lake City, Utah in 2014? Then I’m guessing a trip to the Family History Library (FHL) is part
 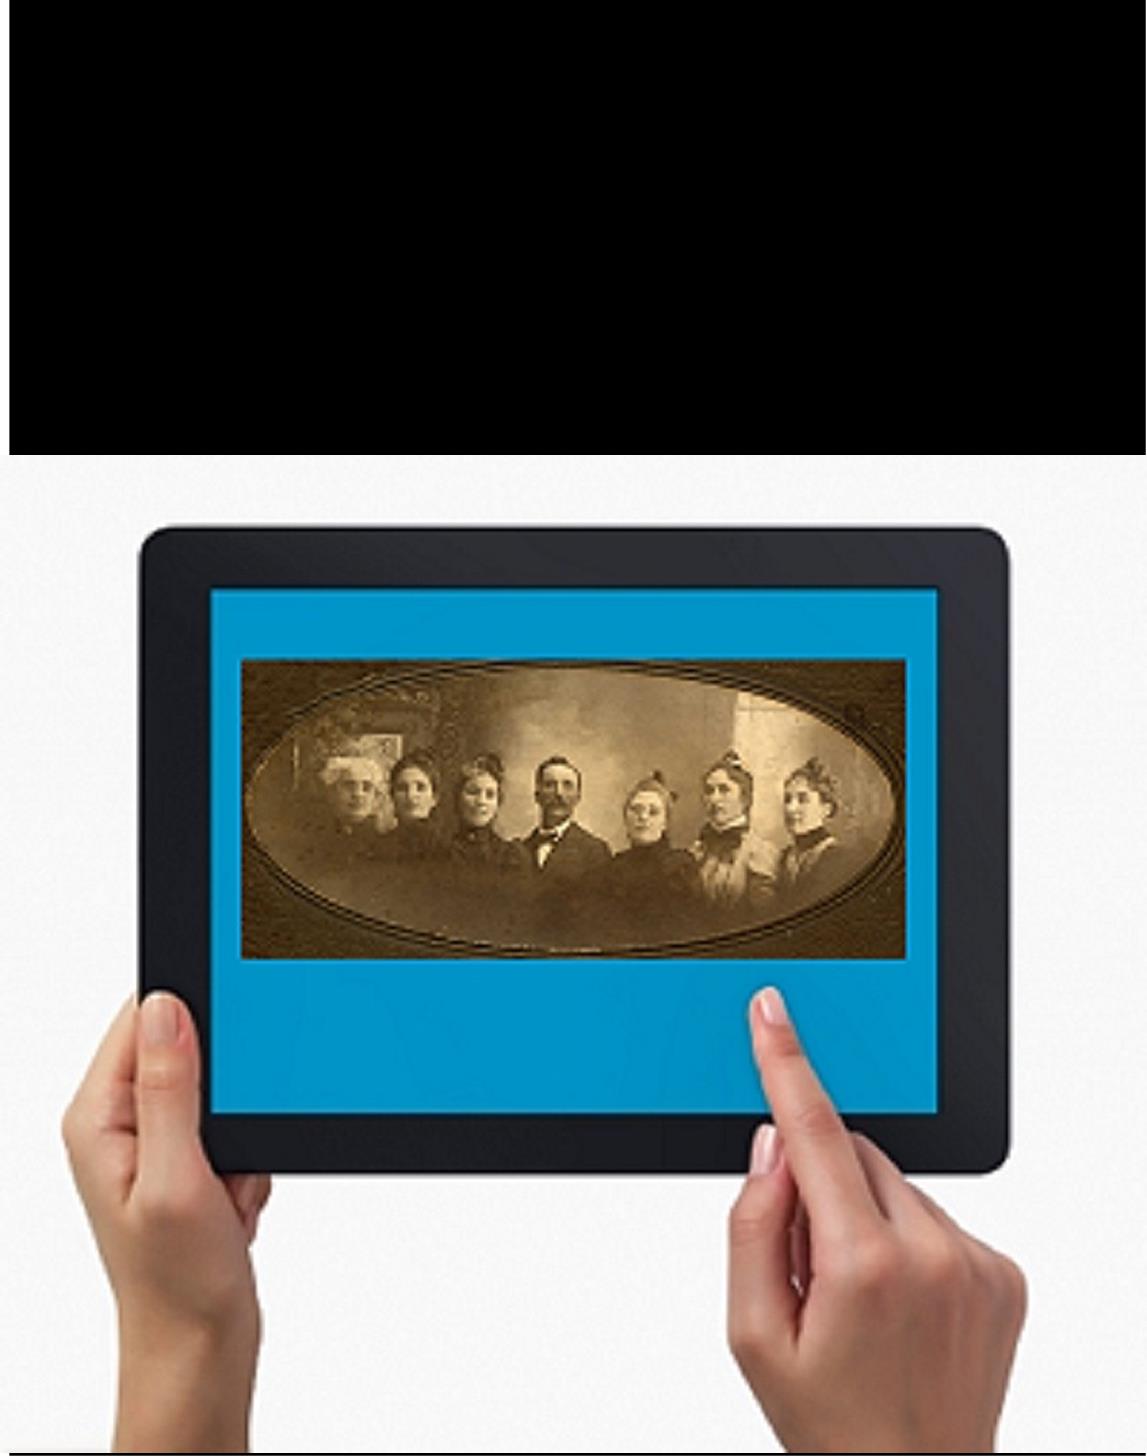 of your plan. Here’s a great tip: bring your iPad or tablet computer and don’t make a single photocopy while you’re there!
Last year, I spent two days researching at the FHL before RootsTech got going. I was up and down a lot between floors, looking at all kinds of books, microfilmed and microfiched materials and even big old maps. On a previous trip, I would have spent a LOT of money on photocopying, even though the copy services there are very low priced. I would have wanted color copies of the maps, so that would have cost more. I would have wasted a lot of time in line to use the copiers–time I would have wanted to spend researching.
But I didn’t waste any time or money. I used my iPad. I have a generation 4 with the rear-facing, 5 megapixel camera, and I used it practically nonstop…
1. Copying material from books. Whenever I found a book page (or a few pages) I wanted to copy, I first imaged the cover pages with the source citation info. Then I imaged the inside pages, making sure the image captured the page number. When I needed to record that a book didn’t have anything on my ancestors, I put a sticky note on the inside front cover saying “checked for Johnsons, didn’t find” (or whatever), then imaged the page with the sticky note on it. This was easy and fast. I sometimes imaged books while standing right in the library stacks! I didn’t have a scanning app on my iPad at the time, but remember you can also use an app like Scanner Pro to scan multipage documents, convert them to PDFs and straighten out and enhance the images.
2. Copying material from microfilm. Okay, it’s not perfect quality, but you can take decent digital images of microfilmed material right from the microfilm reader. First, image the microfilmed page at the beginning saying what the source is (or a note with the source description or even the box with the microfilm number on it). Then stand just in front of the microfilm reader with the iPad. Point the camera down to the displayed image, taking care not to block the projection of the image from the reader above. Here’s an example of what it looks like. Like I said, it’s not perfect because of the angle and lighting. Glare can be a problem so you may want to take a few shots. But you can read these images and most of the time, you don’t need keepsake quality out of microfilm. You just need to capture data. I followed up with some cropping and enhancement editing right on my iPad.
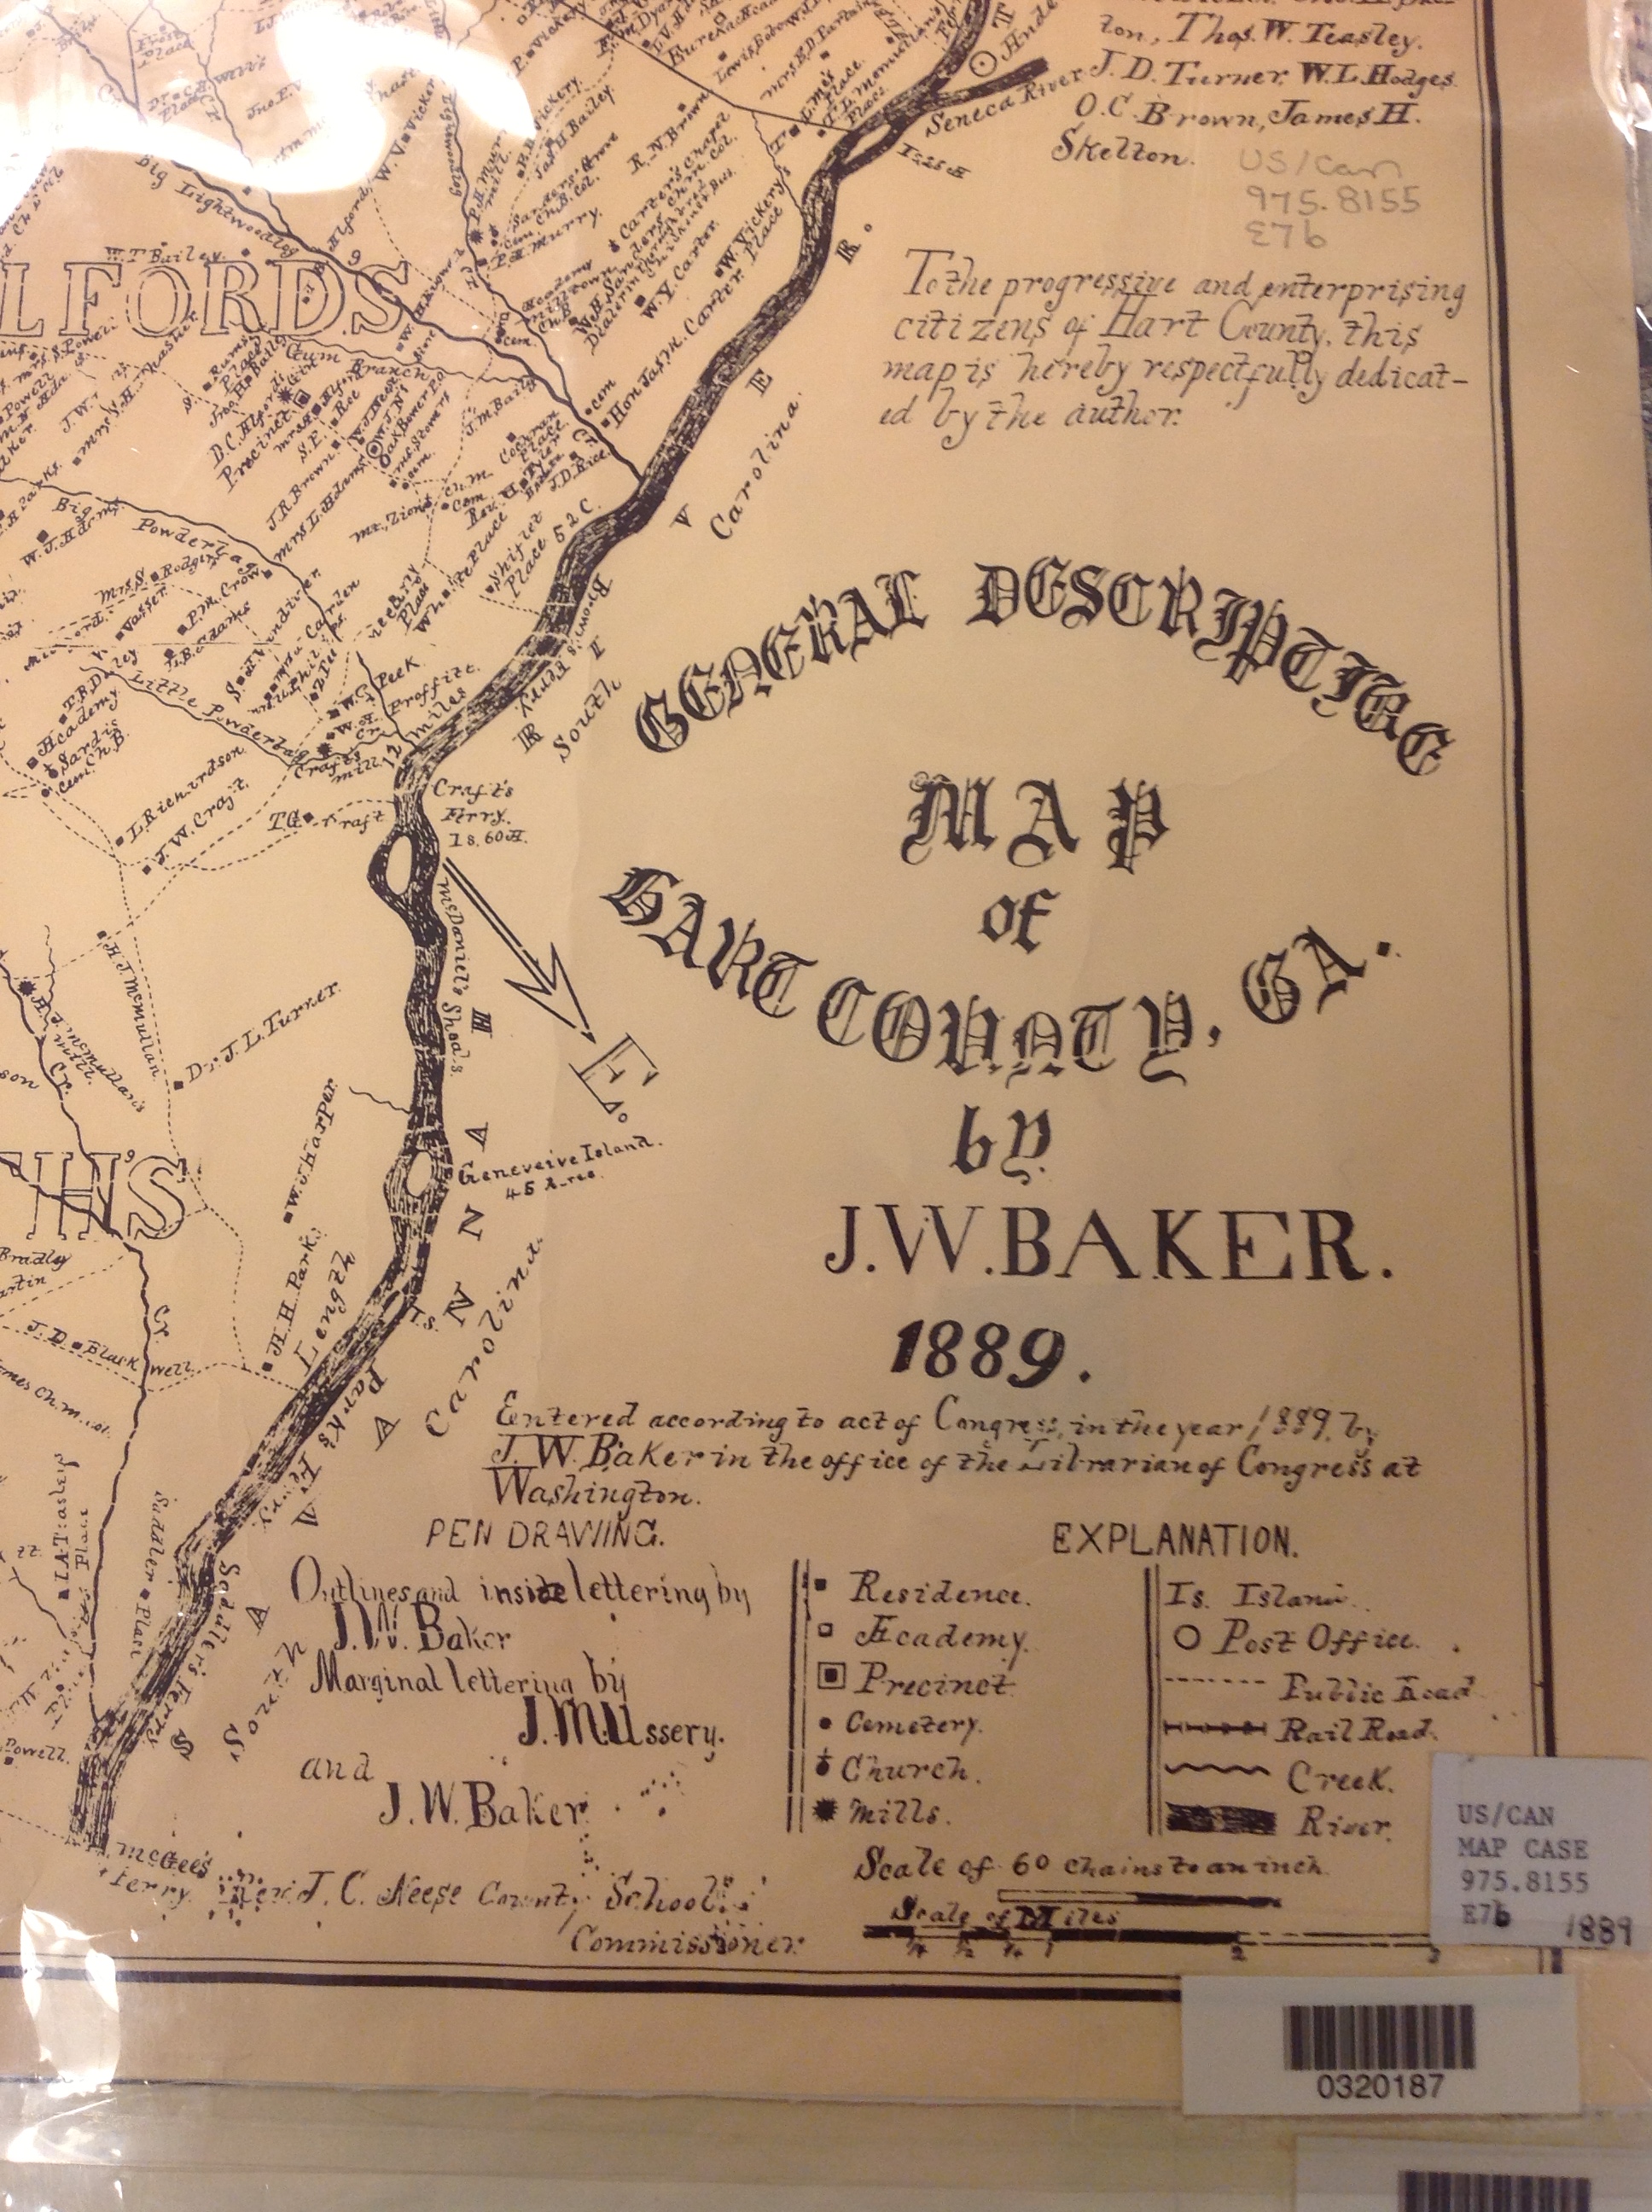 3. Copying material from a map or other folio items. The same general idea applies to imaging maps and other oversized materials. First, image the source citation information, often found on a label at the bottom of the page or on the back. Image the map key, including which way is north, scale, and other details. Then image as much of the map as possible to get an “establishing shot.” Finally, zoom in to the areas of greatest importance to you. Again, it’s not perfect. Laminated items may have glare issues as you can see by the shot shown here. But you may get what you need out of your digital image, especially if you move around so the glare isn’t covering the important areas on the map.
Remember to organize all your images when you get back to your hotel room or home while your memory of the visit is still fresh. Keep source citation shots together with the images you took. Load them into Evernote, if you use it. Organize them as you would other computerized research materials: in surname files, etc.
Finally, remember that fair use and copyright laws still apply to all images you take, whether on a photocopier or your personal digitizing equipment. The Family History Library does allow people to take their own digital images, but not all libraries and archives do. Some repositories rely on the income from copying to fund their facilities. ASK before using your iPad at other libraries! But as you can see, you can save yourself time and money–and have all your research notes and copies already digitized and ready for use on-the-go.
This post was written by Genealogy Gems Contributing Editor Sunny Morton. (Just so you know, I’m not a longtime iPad pro. I learned everything I know about using an iPad for genealogy from reading Turn Your iPad into a Genealogy Powerhouse. Then I adapted what Lisa taught me for the way I research.)
by Lisa Cooke | Nov 18, 2013 | 01 What's New, Collaborate, Dropbox, Family Tree Magazine, Inspiration, Mobile, Research Skills, Technology
To celebrate my article in the new issue of Family Tree Magazine (co-authored with Genealogy Gems Contributing Editor Sunny Morton), I’m running a 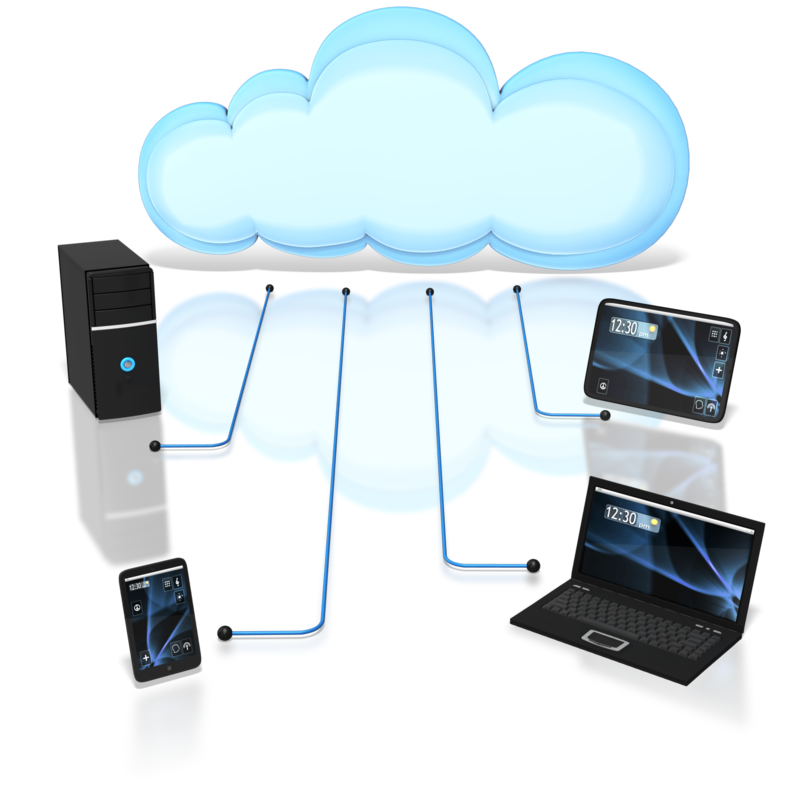 series of posts on teamwork tips and technology tools for collaborative research. This post covers one of my favorite free sharing tools: Dropbox.
A cloud storage service like Dropbox or iCloud is a dream come true for genealogy researchers who want to collaborate from across the living room or across the world. It’s also great for accessing your own research from multiple devices without ever having to copy it over: your home computer, laptop, tablet/iPad, smart phone.
Basically, Dropbox looks like any other file folder you keep on your computer. Open the folder, retrieve and save files to it like any other folder. But this folder lives online as well, so more than one person or computer (with approved access) can access it. You can save documents, images and other files in real-time. And it’s free!
What can you share on Dropbox?
- Research sources. Photographs, documents, audio files of interviews, materials from books, etc. Basically any source material you can think of that can be preserved digitally!
- Your to-do lists. Whether working alone or as a team, it’s important to have–and use!–a to-do list. The list should track specific tasks, like ordering an ancestor”s death certificate or searching for an obituary. For the article in Family Tree Magazine, the editors created a brand new Research Planner and Log: a comment-enabled PDF that lets you keep track of tasks, including when they’re done. This is a great document to use in Dropbox!
- Research notes and writing. Think timelines, biographical sketches, drafts of writing projects, GEDCOM files (the universal file type for family tree data) and any other files related to getting the research done.
- Links. Keep a file with your favorite links embedded in it, including links to digital books, vital records and other resources. You can simply copy and paste links into a word-processing file called “Links.” Include notes before or after each link, like “great local history blog for Marietta, Ohio.”
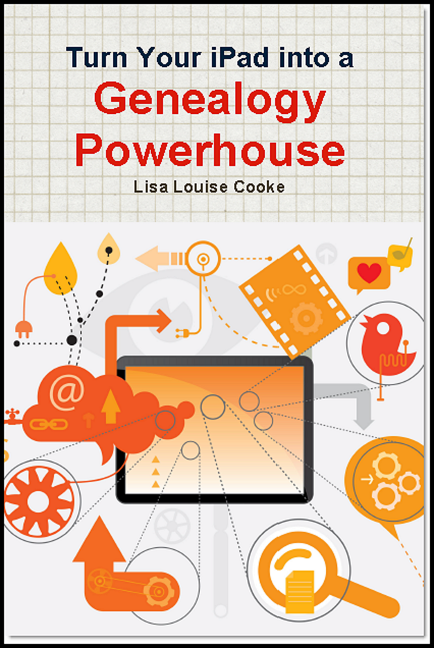 For more on using Dropbox and other collaborative tools on your tablet, check out my book Turn Your iPad into a Genealogy Powerhouse, available as an e-book or in print.
I also hope you’ll check out our article “Teaming Up” in the December 2013 issue of Family Tree Magazine. You’ll find more technology and teamwork tips, including more on Dropbox for genealogists.
Check out the other blog posts in this series:
Tips for Collaborative Genealogy: Research with a Partner
Tips for Collaborative Genealogy: Evernote for Genealogists
Tips for Collaborative Genealogy: Sharing Genealogy Files Online for Free
by Lisa Cooke | Nov 12, 2013 | 01 What's New, Ancestry, Census, Family History Podcast, FamilySearch, Findmypast, Inspiration, Records & databases, Research Skills
 Published November 5, 2013
by Lisa Louise Cooke
[display_podcast]
Download the Show Notes for this Episode
Welcome to this step-by-step series for beginning genealogists—and more experienced ones who want to brush up or learn something new. I first ran this series in 2008. So many people have asked about it, I’m bringing it back in weekly segments.
Episode 6: Sleuthing Out Families and What Records Exist
We talk about sleuthing Sherlock Holmes-style for our families. My guest says, “Stop looking for names and start looking for families!” (Disclaimer: this episode was recorded several years ago and is not an endorsement of the guest at that time, and his opinions are his alone.)
In the second segment, I give an overview of the different kinds of historical records in which our ancestors may appear. Basically, whenever any life event happened that involved the government or a church, paperwork was generated: vital records, land sales, wills and probates, baptisms and burials. There was often a ripple effect, too, in which the event was reported in other sources, like newspapers. In future episodes, we’ll talk in depth about finding and using these different kinds of sources. But consider this episode your orientation to them!
Updates: since this episode aired, the 1940 census has become available to the public. Learn more about it here and search it at your favorite genealogy data site, like: Ancestry.com, Archives.com, Familysearch.org, Findmypast.com and MyHeritage.com.
by Lisa Cooke | Nov 10, 2013 | 01 What's New, Canadian, Inspiration, Oral History
 The Victoria Genealogical Society has started a new memory project called “Voices of the Past.” They are recording the stories of senior members of their community and posting them to their website. You can listen to any given story or click on one of the themes they’ve organized the material into, then listen to stories relating to that theme.
I heard about it from Merv Scott, a Project Director at the Victoria Genealogical Society. Merv sees this project as a win-win experience for those telling stories and those receiving them. “I’m sure you have seen how uplifting it is for seniors to tell stories about their family history,” he writes. “Research has shown it boosts their self-esteem reduces stress and anxieties….I think it’s an amazing legacy to leave your children and grandchildren with stories about their family as told by the person who was there. ” You can contact Merv (Projects@victoriags.org) for more information.
I’ve heard about lots of oral history projects, from the national in scope to the most local. Browse some of these (and find tools and resources for doing your own) at Cyndi’s List.