by Lisa Cooke | Mar 11, 2017 | 01 What's New, RootsMagic |
A GEDCOM file is a universal type of file that genealogists use to move data from one genealogy software program to another. Using these helpful tips below, you can open genealogy files your family members send to you, or share your data with others.
When and Why You Would Need to Open a GEDCOM File
A Genealogy Gems reader recently wrote:
I recently signed up for [the Genealogy Gems] newsletter. I received a CD from a relative with family history information that was set up through Family Tree Maker. I am currently not subscribed to any of the genealogy sites. My question is, how can I retrieve this information [from the CD.] Can you help?
The answer to the question is: Use another program to open the GEDCOM file from the CD. Let me show you how easy it is to open and create GEDCOM files.
GEDCOM Basics
GEDCOM is an acronym standing for Genealogical Data Communication. It is a universal genealogy file that allows you to exchange genealogical data between different genealogy software programs.
Because it is “universal” in nature, a GEDCOM file can be read by many different types of genealogy software. That means, if you are using RootsMagic, you can still share all the data you have collected with your cousin who uses Family Tree Maker, and she will not have to type in all the names, dates, and places manually.
Occasionally, not all the information included in a GEDCOM file will transfer perfectly. There are differences in how that information is interpreted and some things, like notes and sources, may be affected. However, for the most part, much of it will transfer correctly.
How to Open a GEDCOM File
Our reader needs to open a GEDCOM file contained on the CD he was sent. To do this, he must have a program on his computer that will read a GEDCOM file. There is an option I would like to share with you.
RootsMagic is a downloadable software for both Mac and PC users. (And, it is the one we here at The Genealogy Gems Podcast use! That’s why we accepted them as a sponsor of the podcast.)
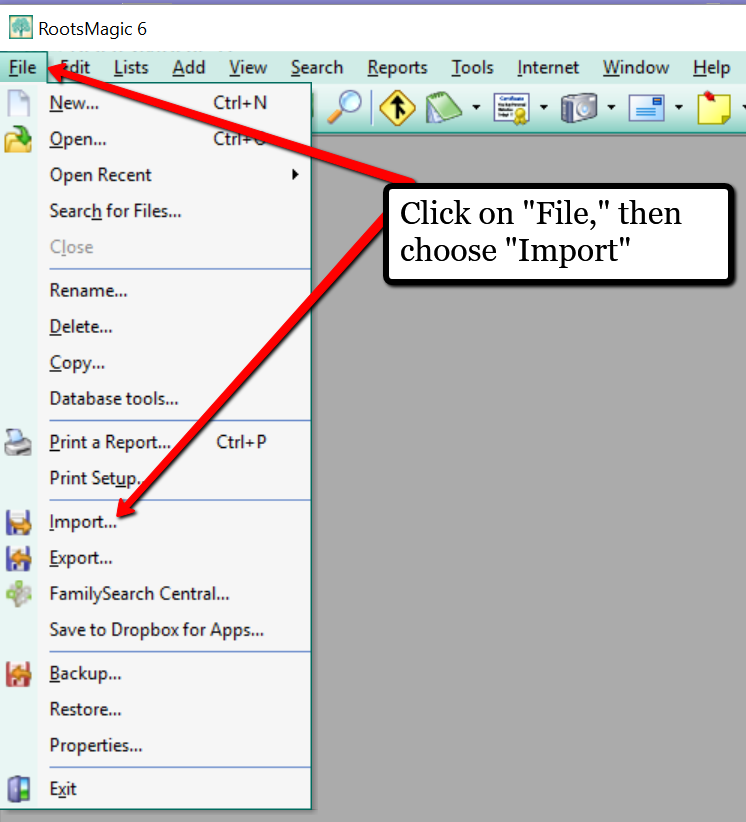
Once you have downloaded RootsMagic to your computer, open it. At the top left corner, click on File and from the pull-down menu, choose Import.
Now, a new pop-up window will open and ask from what source you would like to import from. You will notice several options, but for our reader’s question, he will choose the GEDCOM option.
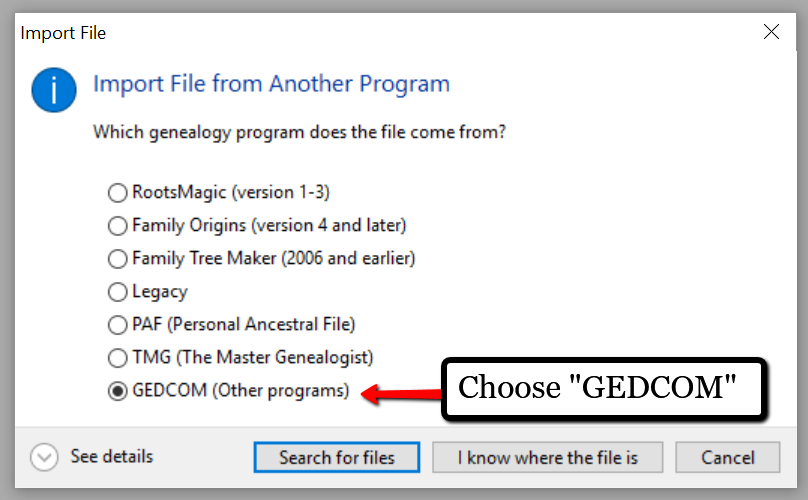
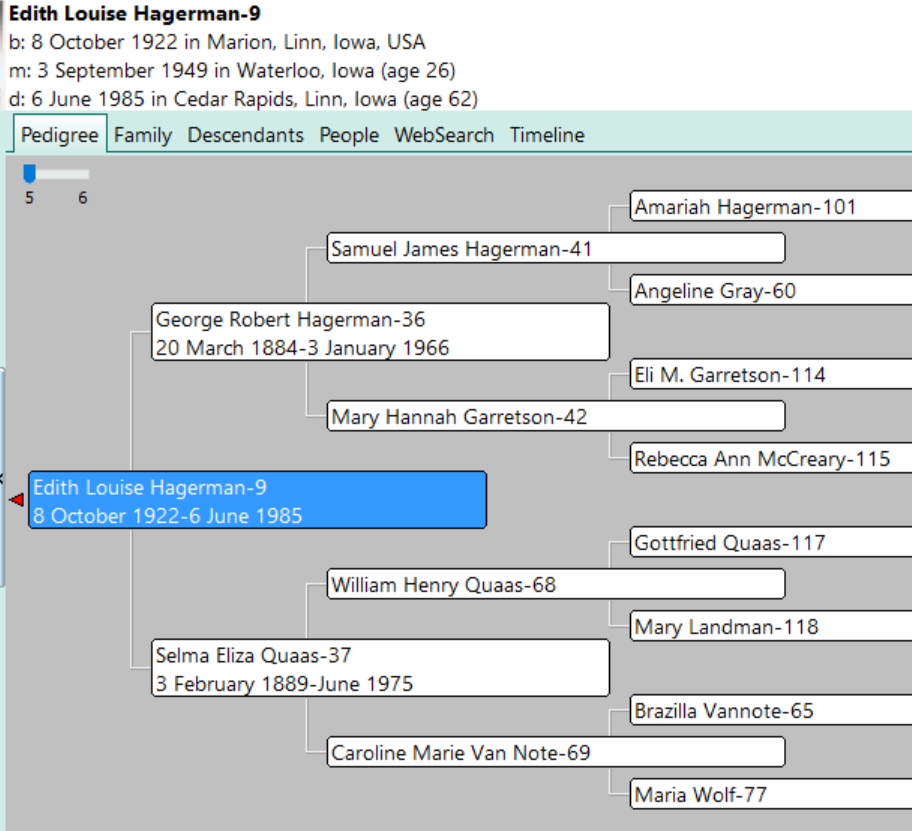
Then, choose I know where the file is, and the file explorer window will appear. In this case, our reader would click on the CD that he has loaded into his computer’s disk drive, and follow the prompts to open the GEDCOM file. All that information his relative sent him will be slurped into RootsMagic and he can easily look through the pedigree of his family.
Creating a GEDCOM to Share with Others
RootsMagic also allows you to create a GEDCOM file. This is what you would send to your relatives when they would like to have a copy of the family tree.
To do this, open RootsMagic. Click on File, as we did before, and this time choose Export from the pull-down options.
The export box will pop-up. You can choose what you wish to have included in this export. I typically choose Everyone, but you can do yours by family names by clicking on the down arrow next to Everyone and choosing Select from list.
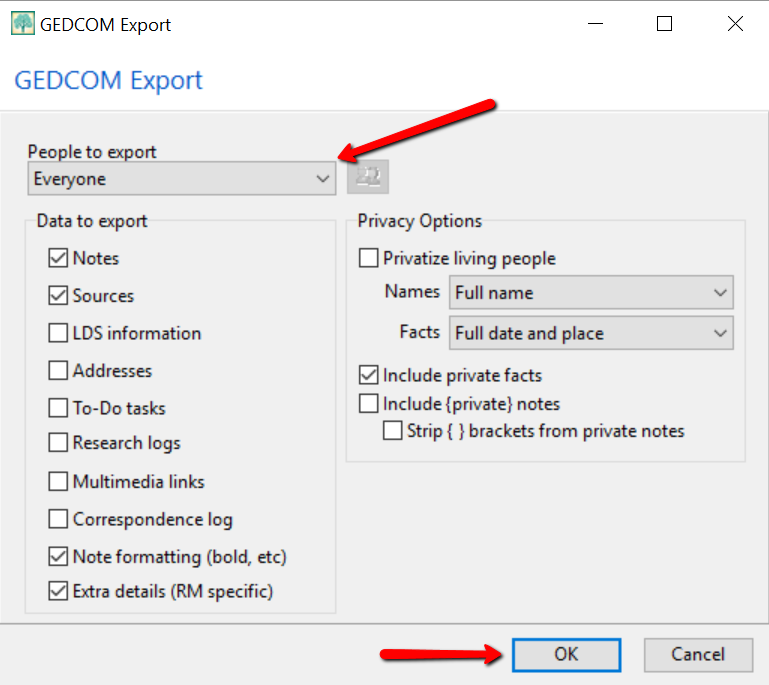
Once you have clicked OK, the GEDCOM file is ready to be saved to your computer. Save the file on your desktop or somewhere you will be able to locate it again. Remember to name the file and pay attention to where you are saving it!
Creating a GEDCOM from Ancestry.com
If you have stored your genealogy data at Ancestry.com, you may be interested to know that you can create a GEDCOM file for your family tree there as well. It’s just a matter of signing into your Ancestry account, locating the Tree Settings, and then clicking Export. I found a nice article outlining the steps on how to do that here.
Protecting Your GEDCOM Files
Creating a GEDCOM is also a great way to save or backup your hours and hours of family history research. One of the saddest tales of genealogists everywhere is losing their computer or printed family files with all that work!
GEDCOM files can be saved to a hard drive, saved to an external unit, emailed, put on a thumb drive, or uploaded to the Cloud. You can also invest in a company like Backblaze, the official backup of The Genealogy Gems Podcast, that will automatically backup all your files. (Read more about Backblaze, here.) All of these methods protect you and your genealogy.
More on Protecting Your Genealogical Data
Learn more about Backblaze, The Genealogy Gems Podcast’s first choice when it comes to backing up precious genealogy research and personal files. Read the article’s below and determine if Backblaze is the answer you’ve been looking for.
How to Download Backblaze in 4 Easy Steps
Backing Up Your Genealogy with Backblaze – Q & A
by Lisa Cooke | Aug 27, 2016 | 01 What's New, Apps, Listeners & Readers
A virtual funeral, is that a real thing? Absolutely. Broadcasting a live service online is an innovative way for families to come together when time and distance keep them apart.
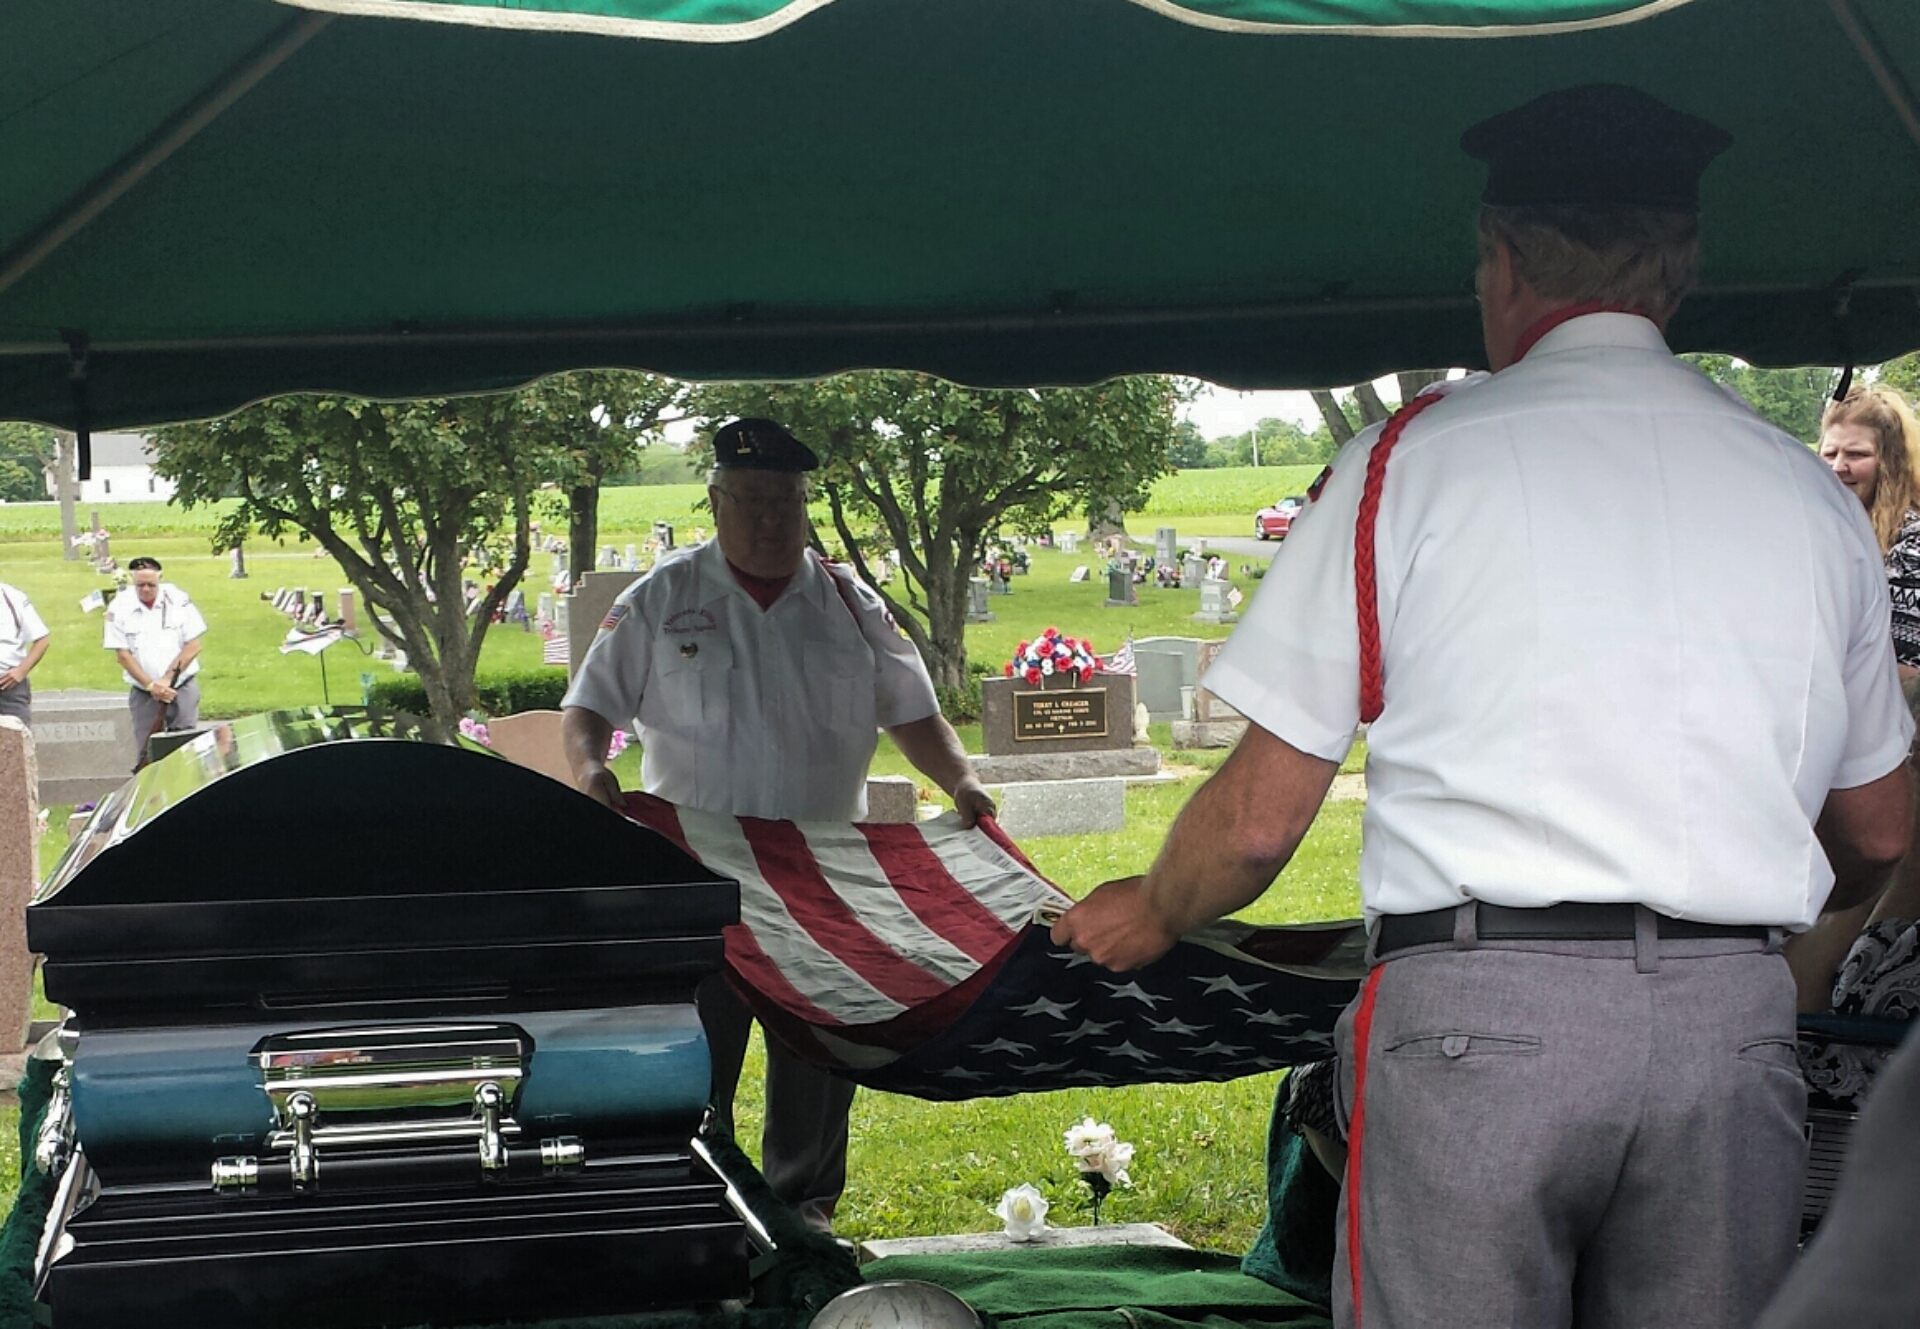
I recently received an email marked URGENT. A long time Genealogy Gems Podcast listener and Premium Member needed help ensuring that her close relatives on the other side of the world could ‘virtually attend’ her brother’s burial service. She wrote:
“This Wednesday my brother is being buried and a service is being held at the crematorium. I have a brother and family who are in Chicago. With your wide experience, what do you consider the best app to use on my iPad or iPhone so that my family in Chicago can see and hear it.”
I was indeed sad to hear of her loss, but happy that she felt she could turn to me. I have two suggestions that might make this virtual funeral possible.
Facetime for the Virtual Funeral
One of the easiest ways to accomplish a virtual funeral is if both parties have Apple mobile devices, then you could use Facetime.
Facetime is a video chat app that comes installed on your Apple devices. You will use Facetime to ‘call’ the family privately at a designated time using either a phone number or email address, depending on the type of device you are calling. The app allows you to share the burial or funeral service with your family members anywhere in the world.
The really nice thing about Facetime is that you can see them and they can see you making this as interactive as it can be.
Android Users: Click here to read 5 Best Alternatives to Facetime for Android on Geek.com.
Periscope App for the Virtual Funeral
 Available on both Android and Apple, the free Periscope is my go-to app for live broadcasting here at Genealogy Gems. (At the end of this article, you can watch a video of one of my classes that was live-streamed using Periscope.) Using the Periscope app would be a great solution for privately broadcasting the virtual funeral.
Start by downloading the free app from the App Store (Apple) or Google Play (Android.) If you decide to use it on your iPad rather than your iPhone, select the “iPhone” filter from the menu. Even though the app was built for iPhone, it will work on your iPad. (Periscope requires iOS 8.1 or later and is also compatible with the iPod touch.)
Sign-in with a free Twitter account or your phone number. Then, add each other as friends. Each person needs to install the app on their device.
Start a “Broadcast,” but before you click the “Start Broadcast” button that pops up, tap the lock icon. From there, you can select your “Friends” (your brother and his family in Chicago) and start a “Private Broadcast.” The Periscope app will also record the broadcast to your phone so you’ll have a video of it. Your video can be saved for a future viewing or as part of your family history.
Sharing Special Moments
Sharing special moments using new apps and technology is one of the advantages of living in today’s modern world. Even when distance keeps you apart, you and your family can lean on each other during hard times or cheer each other on in happy times. I would love to hear from you. How have you shared your special moments with family far away? Leave a comment below.
Genealogy Gems: your home for learning about the best genealogy apps!
My book Mobile Genealogy: How to Use Your Tablet and Smartphone for Family History Research will teach you about top apps (most of them free!) for all those important geneal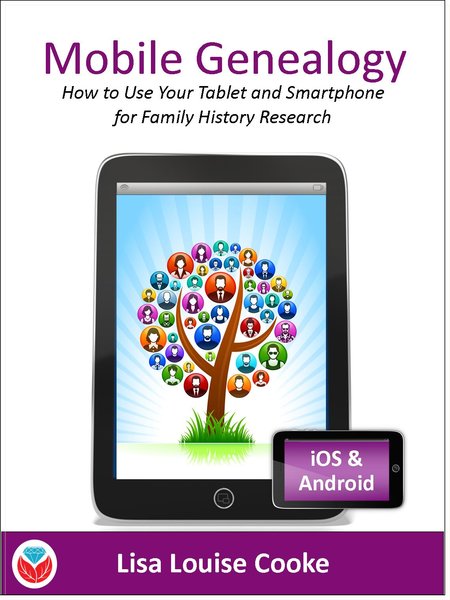 ogy tasks we do on-the-go: note-taking, file storage and management, photos, reading, collaborating and communicating, genealogy website apps and more. You’ll find recommendations for both Apple and Android device users. Click here for more information on the book, and then head to this page to watch my free video class Mobile Genealogy Tips and Tricks which we live streamed from a recent conference using Periscope!
by Lisa Cooke | Nov 28, 2013 | 01 What's New, Collaborate, Inspiration, Publishing
 One of the most important things we do as genealogists is share! We share research findings, family stories, trees, heirloom photos and more. These days, sharing online is often the way to go. It’s fast, it’s relatively organized, it gets things into the hands of those who want them and (often) it’s free!
To wrap this series of blog posts on collaborating, I offer 4 ways to share genealogy online (in addition to Dropbox and Evernote, which we discussed in previous posts).
1. Attach scanned documents, photos and stories to your online tree. Whether you keep a tree at MyHeritage, Ancestry, FamilySearch or another site, beef it up with everything you have. That only enriches the body of knowledge out there and gives others a leg up on the next bit of research. You can also include links to applicable notes in Evernote.
2. Post gravestone photos and other burial information at online cemetery sites. BillionGraves and Find A Grave are the two big ones, of course. These sites provide searchability and a platform for collaboration between descendants.
3. Post meaty queries that show what you know and what your questions are. RootsWeb and USGenWeb are two enormous sites, organized by location and topic, where you can post questions about people, places and more. Check out this page on how to write a good query and this Cyndi’s List portal to various message boards. TIP: Remember to include all important related keywords, name and location spellings, and dates in your messages so they are easily found by your long lost cousins using Google!
4. Publish your research. Genealogy newsletters, magazines and journals of all levels (from the local to the national and beyond) want your well-researched, well-written research. What’s a chunk of research you could share? Look for publications that are indexed in PERSI, the Periodical Source Index, because other genealogists are most likely to find your work when it’s indexed there. Of course, family history websites, blogs and books are all great ways to publish your research, too. Just get it out there!
As the online genealogy community continues to grow, our opportunities to grow bigger, better family trees also grow. So my question to you is: What do you have to share? And have you begun?

Check out the magazine article that inspired this series of posts on collaborating. It’s “Teaming Up,” and it appears in the December 2013 issue of Family Tree Magazine. Sharing genealogy files is just one topic we cover. The article itself was a cross-country collaboration between myself and Genealogy Gems Contributing Editor Sunny Morton. To write it, we relied on a lot of the same tips and tools we recommend!
Finally, check out my previous blog posts in this mini-series on collaboration:
Tips for Collaborative Genealogy: Research with a Partner
Tips for Collaborative Genealogy: Dropbox for Genealogists
Tips for Collaborative Genealogy: Evernote for Genealogists