by Lisa Cooke | Dec 26, 2014 | 01 What's New, Apps, Beginner, Blogs, Listeners & Readers, Publishing
Are you ready to start a genealogy blog (or improve one you already write)? Here’s a quick Q&A for you, prompted by questions by Genealogy Gems  Premium member Kevin:
Q: “I am ready to start writing a blog but my typing is slow. Is there a dictation app (iOS) or software (Windows) that I could use to dictate my first drafts of my blog posts?
A: If you go to www.genealogygems.com and scroll down and enter “Dragon software” into the Amazon box and click “Go” it will pull up a great dictation program that might be just what you are looking for. (Using our Amazon box supports the free podcast – thank you!)
Q: Which blog site do you use and why did you select it?
A: I use Word Press for my website and blog. They have a free version at wordpress.com. Google also has Blogger which is free. I have a free series of videos on the Genealogy Gems YouTube channel about how to set it up. They are a few years old, but will give you the basic idea.
Q: Do you compose your blog posts directly on your site or do you type them in Word or some other word processing program then cut and paste them into your blog?
A: It’s best to compose them directly into a new post on Word Press or Blogger. Cutting and pasting out of Word will likely carry over unwanted formatting which can cause headaches.
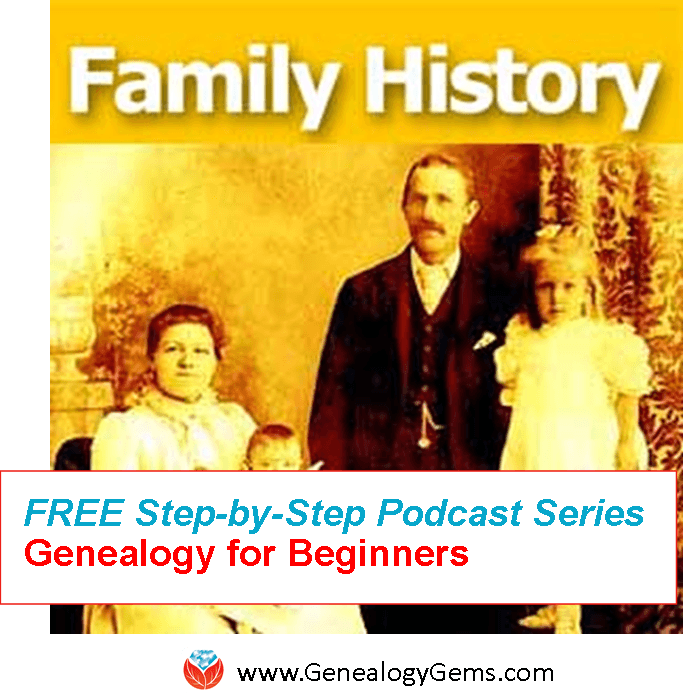
Listen to the Family History: Genealogy Made Easy podcast by Lisa Louise Cooke. It’s a great series for learning the research ropes and well as refreshing your skills.
Ready to get inspired and tutored on genealogy blogging? Check out my FREE podcast series on how to start a genealogy blog. Click here to reach my Family History Made Easy podcast landing page, then start with episode 38 and continue through episode 42. You’ll learn step-by-step how-tos and you’ll be introduced to some inspiring blogs that WORK. We often hear about success stories from listeners who started a blog after hearing these episodes. (We’d love to hear YOUR success story, too!)
by Lisa Cooke | Dec 23, 2014 | 01 What's New, Evernote, images, Listeners & Readers, Oral History, Organization, Video
 Do you have old home movies, footage of oral history interviews or any other type of family history video to keep track of? I recently heard from Ricky with this question:
Q: How do I add video to Evernote?
A: Thankfully, it’s easy on your computer:
- Open Evernote.
- Click New Note button.
- Open Windows Explorer and resize so you can see both the window and Evernote.
- Locate the desired video on your hard drive.
- click on the video and drag and drop it on to the new note.
That’s it!
From your mobile device when you have the Evernote app installed:
- Locate the video (ex. on the iPhone open Video app).
- Tap Share icon.
- Select Email.
- Start to type “ever” and your unique Evernote email address associated with your Evernote account should auto-fill.
- Send.
This will send the video to Evernote as a new note.
Keep in mind that video files are very large so take up a lot of your monthly upload limit. If you are a Premium Member, that’s not so much of a problem.
Resources
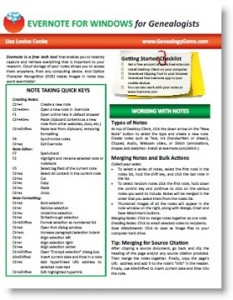 How to Get Started in Evernote, and the Ultimate Evernote Education
My Evernote for Genealogists quick reference guide is available for both Mac and Windows users (purchase the one that goes with your computer’s operating system, not your mobile device). Click to download it!
Genealogy Gems Premium members can also access exclusive full-length videos on how to use Evernote for family history, like:
Not a Premium member yet? The Evernote video series alone makes Premium membership worth the low annual fee, but you get SO much more! Learn more here.
by Lisa Cooke | Dec 23, 2014 | 01 What's New, Adoption, British, Canadian, DNA, Family Reunions, Research Skills
 Knowing your genealogical question can make DNA testing for adoptees (and anyone else) more focused and relevant. Being patient and determined—not quitting after a single test’s results—can also pay off, as it did for Paul Dobbs, a Welsh-born man who followed his adoptive father to Canada only to learn he was fathered by a U.S. serviceman.
Paul Dobbs didn’t find out that Len Dodds wasn’t his biological father until after the man who’d raised him to adulthood passed away. The truth came out during a genetic investigation into Len’s rare medical condition. He learned that he was child of an American soldier stationed in Wales during World War II. But years of traditional genealogical research led to dead ends. Then Paul turned to DNA and found a match: a first cousin.
With the help of his new-found cousin and the traditional genealogical records available about servicemen serving in Cardiff at the end of World War II, Paul was able to form a convincing hypothesis about the identity of his biological father.
He reached out to a potential half sibling who agreed to conduct a DNA test to explore this option.
She was a match. Paul had found his biological family! (Read his story in the Vancouver Sun.)
Not everyone will find their birth parents through DNA testing. But Paul took an approach that can serve anyone looking for biological kin through DNA. His experience reminds us that knowing your genealogical question can make DNA testing more focused and relevant. Being patient and determined—not quitting after a single test’s results—can also pay off, as it did for Paul.
For any male adoptee seeking his father, the yDNA test is a logical route to take. This is where Paul turned first. The yDNA provides an undiluted record of a direct paternal line. This can often help adoptees identify a surname for their paternal line. However, Paul did not have the success he was hoping for with yDNA testing.
He then turned to autosomal DNA testing. Remember that this kind of test traces both your paternal and maternal lines and reports back to you matches in the database that have predicted relationships like, “2-4th cousins” or “3rd-5th cousins” and then you are left to decipher who your common ancestor might be.
DNA testing is a great option for adoptees to get a jumpstart on their genealogy. However, before testing, everyone, adoptees included, should carefully consider how the results of testing may impact you and your family, both biological and adopted.
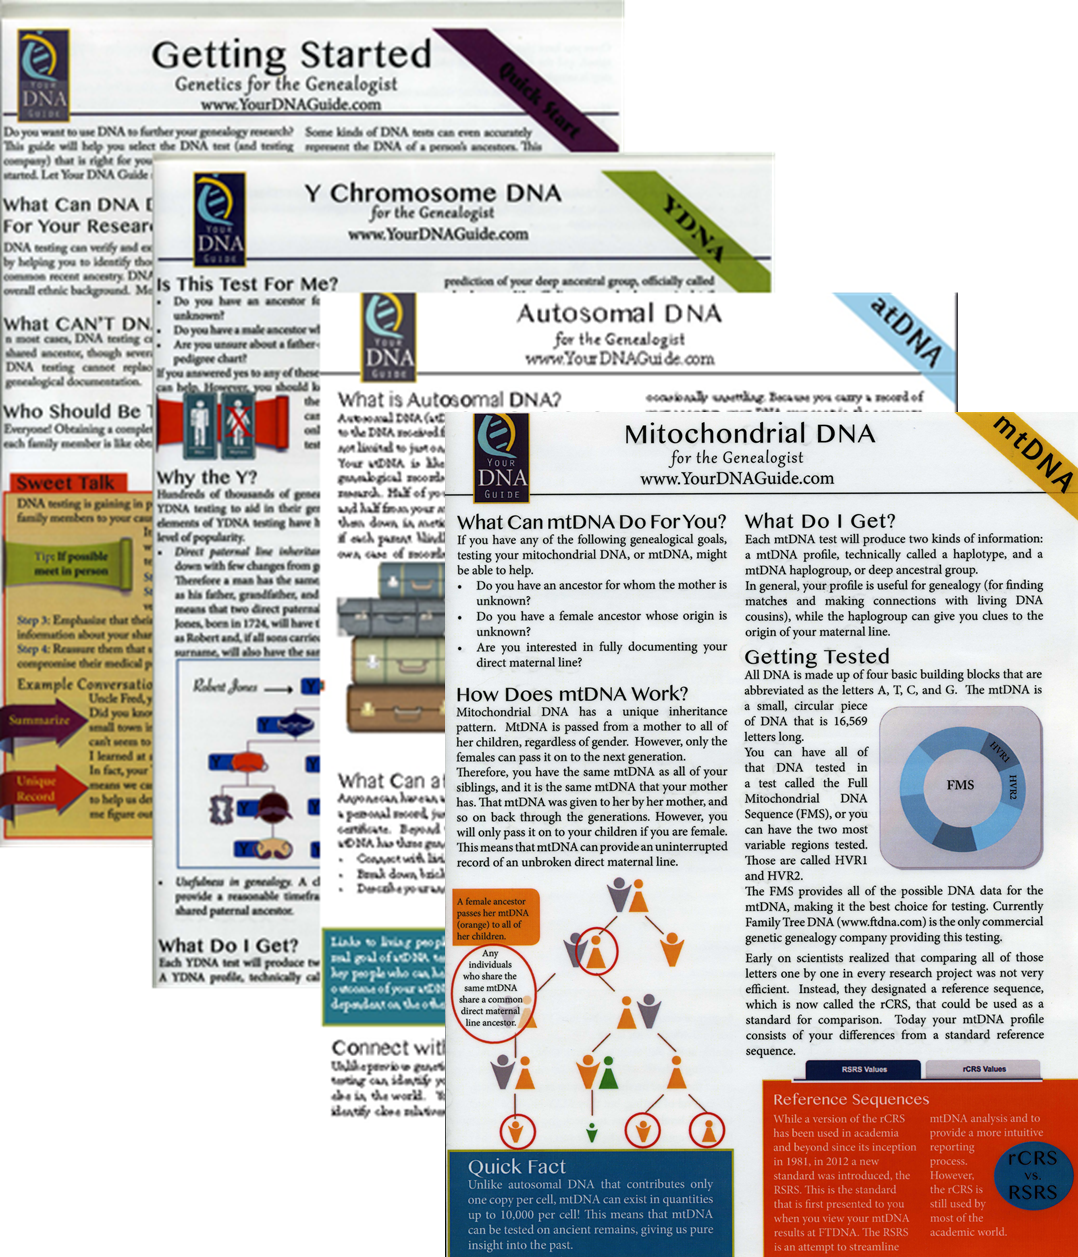 Ready to learn more about your family with DNA testing? Learn how to with my series of quick guides. Purchase each guide individually or pick up the bundle of all 4 for the best deal!
Visit my website to learn about expert consultations with me. You’ll get customized guidance on which tests to order and how to maximize your results for your genealogy research.
by Lisa Cooke | Dec 19, 2014 | 01 What's New, Google, Google Earth, images, Maps
 If you have experienced frustration managing your genealogy files in Google Earth, you’re not alone. A recent email question from Genealogy Gems Premium Member Linda reminded me what the #1 culprit tends to be: the Temporary Folder. Linda writes:
“I have a question for you about Google Earth. I have been trying to play around with it and when I find a place and want to save it, the “Save to My Places” is grayed out and it won’t let me save. My husband said the same thing happens on his computer. I looked on a Google forum and someone posted a question about it not working recently. Do you happen to have any info about this and does the same thing happen to you?”
While Linda didn’t provide specifics as to what kind of “place” she is trying to save, I’ve been at this long enough to have a pretty good ideathat she found something like a Rumsey Historical Map that she wants to add as a permanent fixture to her geographic genealogy files in Google Earth. Fabulous! Or it may be as simple as someone emailed her a map with a single placemark on it. She has clicked to open it and Google Earth magically opened and displayed it on her screen. Awesome!
In both cases, the important thing to notice, is that the item was sent to the TEMPORARY folder in the PLACES panel. That’s because Google Earth doesn’t assume just because you wanted to look at something means you want to save it in your files forever. And this leads me to the answer to Linda’s question…
The only time “Save to My Places” will not be grayed out is when the item that you are looking to Save to My Places is in the TEMPORARY folder. In other words, it is not yet saved to My Places (as in the cases I mentioned above.)
The Temporary folder is the most overlooked feature of Google Earth, and can play havoc with you unless you understand how it works, particularly in conjunction with the menu functions.
Here’s how to save an item in the Temporary folder to be a permanent part of your My Places:
- Click to select and highlight the item in the Temporary Folder
- Go up to the menu click FILE
- Select SAVE
- Select SAVE TO MY PLACES

The item will then jump from your Temporary folder into My Places. You may need to open My Places by clicking the small black arrow next to it in order to see it at the bottom of your list.

Once an item (such as a place mark) is created, and it appears anywhere in the Places panel other than the Temporary folder (such as in a folder you created, or under My Places,) it is technically already in My Places, and therefore does not need to be Saved to My Places. And that is why that option is grayed out.
Think of “Save to My Places” as “MOVE to My Places”.
Once your item is in My Places, from that point forward you will be saving any changes you make to it by selecting FILE > SAVE > SAVE MY PLACES.

This procedure saves changes made to any and all files in your My Places, including the new file you just added. Anything in your Temporary folder will be lost when you close Google Earth.
Play it Safe!
Be smart and get into the excellent habit of saving My Places every 10 minutes or so, (in case Google Earth, our computer, or internet connection crashes,) and most definitely when you close the program at the end of your work session.
Happy Googling!
Lisa
by Lisa Cooke | Dec 17, 2014 | 01 What's New, Genealogy TV, History, Irish, Who Do You Think You Are?
 Digital Spy and TV By the Numbers have announced that Who Do You Think You Are? (US) will return in February 2015 with a new round of stories and celebrities.
According to the reports, eight new episodes are lined up for WDYTYA 2015. Only four have been announced:
- Bill Paxton, who visits a Revolutionary War battle site to walk in his ancestors’ steps;
- Julie Chen travels to China to learn more about her grandfather;
- Angie Harmon turns back the clock to explore an ancestor connected with George Washington;
- Sean Hayes jets to Ireland to celebrate his Irish roots (click here to catch his antics on his return flight).
The season premieres on February 24th on TLC; check your local listings.
What’s your favorite all-time episode of WDYTYA? Tell us on Facebook!
 Premium member Kevin:


 Ready to learn more about your family with DNA testing? Learn how to with my series of quick guides. Purchase each guide individually or pick up the


