by Lisa Cooke | Mar 25, 2014 | 01 What's New, Beginner, Evernote, Organization, Research Skills
Recently I heard from Jane, a Genealogy Gems Premium subscriber in Canada, who needs a genealogy research plan! She’s researched on Ancestry.ca, 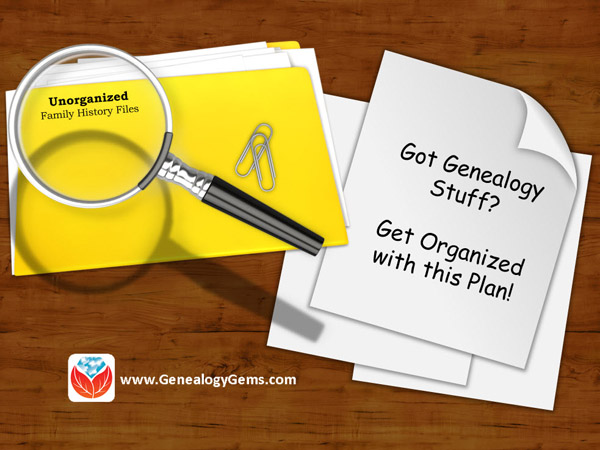 Scotland’s People, the Free English BMD Index, FamilySearch and joined her local society. But she’s not sure where to go next with her research–there just are SO many options! If this sounds familiar, check out her question and the advice I gave her:
“I often end up wandering around in circles and mazes as one thing leads to another, and another, and … I am sure you know what I am talking about. I seem to be jumping back and forth between my Dad’s family, my Mom’s family, their families, etc. until there are times that I find myself at a certain point, only to wonder ‘Where was I going with this?’ I’m now wondering if I would be best to take it one person at a time – to find out as much as I can about that person in that point of time, before going on to another. I have started trying to make notes…but find that I end up hopelessly out of order and lost. Any advice would be appreciated! Help!!!”
My Answer: A Genealogy Research Plan to Deal with the Chaos
“You are not along in this genealogical dilemma! It’s easy to let the records start to take over and lead you around. Set a goal or a genealogy research plan – define what it is you want to know. It might be something very specific about a particular ancestor, or it might just be to fill in the blanks on one particular family. Early in my research I focused on one grandparent, and working backwards, I would strive to fill in all the blanks on that person, then their parents, then their siblings. I wouldn’t “leave” that family until I felt that I had filled in as much of the family group sheet as possible. (We have sort of lost track of the “family group sheet“ in this technological age. But it is an excellent tool for keeping you on track and focused on the blanks that need to be filled.)
An additional strategy is to have a process for dealing with information that is a bit off your current track. Often we feel like we have to pursue it or we’ll lose it. I like to use Evernote (free at Evernote.com) to capture data that I’m not ready to deal with right now, but definitely want to pursue later. I create an Evernote “notebook” for that family surname, and a note book called “future research.” Drag and drop “Future Research” onto the family surname notebook which will create a “stack.” Now you can create notes and drop them into the “Future Research” notebook which is inside the applicable family. Add tags to your note like “newspaper,” “death record,” etc. and some good searchable keywords so that the note will be easy to find when you need it. Now you can capture the item, file it away, and stay focused on the task at hand. Whenever you’re ready to ask a new question, open that Future Research notebook. Use what’s there to inspire the next phase of your genealogy research plan.”
More Resources
How to Get Started in Evernote, and the Ultimate Evernote Education
Should Evernote be my Digital Archive?
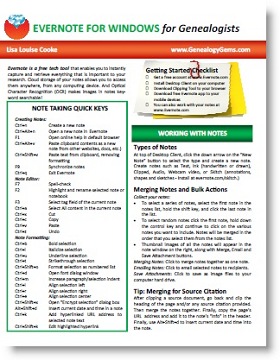
If you would like to learn more about using Evernote for genealogy, I have a quick reference guide in my store that will work wonders in keeping you organized. It’s available for both Windows and Mac, and in both PDF and laminated print format.
 Your questions are always welcome! Contact me by email, or leave a voice mail at (925) 272-4021 and you may just hear yourself on the show.
by | Mar 25, 2014 | 01 What's New, Church, Family History Podcast, Records & databases
 Family History: Genealogy Made Easy
with Lisa Louise Cooke
Republished March 25, 2014
[display_podcast]
Download the Show Notes for this Episode
Welcome to this step-by-step series for beginning genealogists—and more experienced ones who want to brush up or learn something new. I first ran this series in 2008-09. So many people have asked about it, I’m bringing it back in weekly segments.
Episode 24: Using Marriage Records in Family History
So far in this podcast series you’ve made a lot of progress. You’ve set up your genealogy database, talked to your relatives, gotten familiar with the Family History Centers and you have your research worksheet to lead you in your investigation backwards in time, through death records and the census.
In today’s episode we’re going to continue working backwards down the records aisle looking for marriage records. Marriage records are a type of vital records, meaning they provide vital statistics for a person’s life. They can be a rich—even vital!—source of genealogical information.
Marriage records, like death and birth records (which we’ll be covering in an upcoming episode) are primary sources. This means that the record was completed at the event or very close to it by someone who was present at the event. That means it’s a pretty reliable source.
There are two types of marriage records: civil records which are recorded with the local government, usually at the county level, and church records, if the marriage took place in a church.
Update: Many government and church marriage records have found their way into major genealogical databases (www.Ancestry.com, www.FamilySearch.org, www.FindMyPast.org, www.MyHeritage.com, etc). Look for indexed records and—if you’re lucky—digitized versions of the actual record. (If you find only indexed records, use the process below to find copies of the actual record.)
Civil/Government Marriage Records
You need to determine where the marriage took place in order to figure out the proper civil authorities to contact. Usually that’s the clerk in the town, county, district or parish where the happy couple said “I do.” In the U.S., chances are it was at the county level, but if you’re not sure, do a Google search on the name of the county and the phrase “vital records” or “marriage records.” Chances are one of the first search results will be a link to the website for that county and hopefully the specific page that will tell you how to request vital records. There you should find specific instructions about how to make the request and any fees involved.
I have three tips for you:
- Tip #1: Be sure and follow the instructions to the letter because otherwise you will likely have your request returned to you unfilled and asking for more information which just wastes time.
- Tip #2: As with Death Records, it isn’t necessary to order a certified copy because you are not using it for legal reasons, just information reasons. Certified copies cost more and usually have more requirements to applying for them.
- Tips #3 Request a complete photo copy (which is sometimes referred to as a LONG FORM) rather than a SHORT FORM which can be a brief transcription of the record. There may be clues in the original record that may be left out (or mistranscribed) in the SHORT FORM.
If all this sounds cumbersome there is an easier to request marriage records and that is through Vitalcheck.com (see below). While it costs more you can order the records quickly and easily online.
If you’re looking for civil records in England or Wales, those records have been officially recorded by local District Registrars who reported to the General Registrar Office since July 1, 1837. These records are probably easiest to access, particularly if you are not in the UK, through FindMyPast.com, which does charge a fee for each record.
Types of civil records:
- Marriage application. I can’t guarantee they’re available in every county, but it’s definitely worth asking!
- Marriage license. This record often holds the most genealogical value. It will include their names, ages, residences as well as perhaps their race, occupation, age, and perhaps their parents’ names.
- Marriage register record. This confirms the marriage actually took place. This may be just a signature and date from the official who performed the marriage, and may be a small section at the end of the marriage license information. (The latter type of record may also be called a “marriage return” or minister’s return.”
- Marriage certificate. While this record is part of the process it isn’t available through the vital records office. It would have been kept by the couple and will involve some looking around and asking relatives to see if it still exists.
Tip: A marriage license alone does not prove a marriage. A couple could easily apply for a license but never go through with the big day.
Church Marriage Records
Start looking for these records at the Family History Library (www.familysearch.org).
Other places to look:
- The church if it still exists. Search for their website. Contact the church office and ask if they have records for the time period you’re looking for. If they no longer have the records ask where they are being archived.
- Check in with the closest local library and ask to talk to the reference desk.
- Search the WorldCat catalog (see Links).
- Check the US Gen Web site for the state and county where the marriage occurred (see Links). These sites are run by volunteers and each county has a different variety of records and resources available. Contact the local genealogy or and historical societies and ask for their help.
Other records to look for:
- Banns of marriage records. Look for a record of the banns in the church minutes or church bulletins.
- Newspaper marriage announcements. Tip: Keep in mind when you’re searching a newspaper database and you find a listing for what appears to be the right family in the right area but the date is way off, be sure and check it out because it just may be a republishing of the news you were looking for! (Learn more about newspaper research in my book How to Find Your Family History in Newspapers.)
Links/Updates
FamilySearch. To search for marriage records by place, click on Search, then Catalog, then search by location. You’ll find both government and church marriage records listed here. Look at the county level for U.S. government records; look at the municipal level or under the Church records category for church marriage records.
USGenWeb
WorldCat
VitalChek
by Lisa Cooke | Mar 19, 2014 | Beginner
 Free Family History has a nice ring to it!
Did you know you don’t have to pay for a subscription to anything to be able to start learning more about your family history?
Start to find your family history for free by asking the four questions listed below.
1. What do you already know?
Chances are that you know something about your family already. The most important facts we start with are our relatives’ names and their dates and places of birth, marriage(s) and death. These facts can help you later to distinguish between records about our relatives and others with the same name.
Write down what you know about your “direct ancestors”–your parents, grandparents, great-grandparents, etc.–on a family tree chart like this free fill-in pdf format (these are also called pedigree charts). Then use family group sheets like this one to organize facts about each individual couple (this is where you can list all the children your grandparents had, for example).
2. What do your relatives know?
After filling out what you can, show your family tree chart and family group sheets to other relatives. Ask them if they can fill in some blanks. Remember these tips:
- Try to include a little note about who tells you each piece of information.
- Someone may dispute what you find. Everyone’s memory of an event is different. Don’t argue. Treat their information with respect:. Write it down. Then ask politely if they have any documentation you could see, or why they believe something to be true (who told them, etc).
- Ask whether anything is missing from your charts: a grandparent’s second marriage, a stillborn child or even whether someone’s name is accurate. You or others might know someone by a nickname or middle name.
- Be sensitive to information that might be confidential or not generally well-known, like a birth date that doesn’t appear more than 9 months after a wedding, or a first marriage. Consider asking living relatives if it’s okay for you to share certain facts. Consider only showing part of your charts to a relative.
3. What’s in the attic (or anywhere else)?
We can often find family documents in our own homes and those of our relatives. Look in attics, basements, storage units, safe deposit boxes and 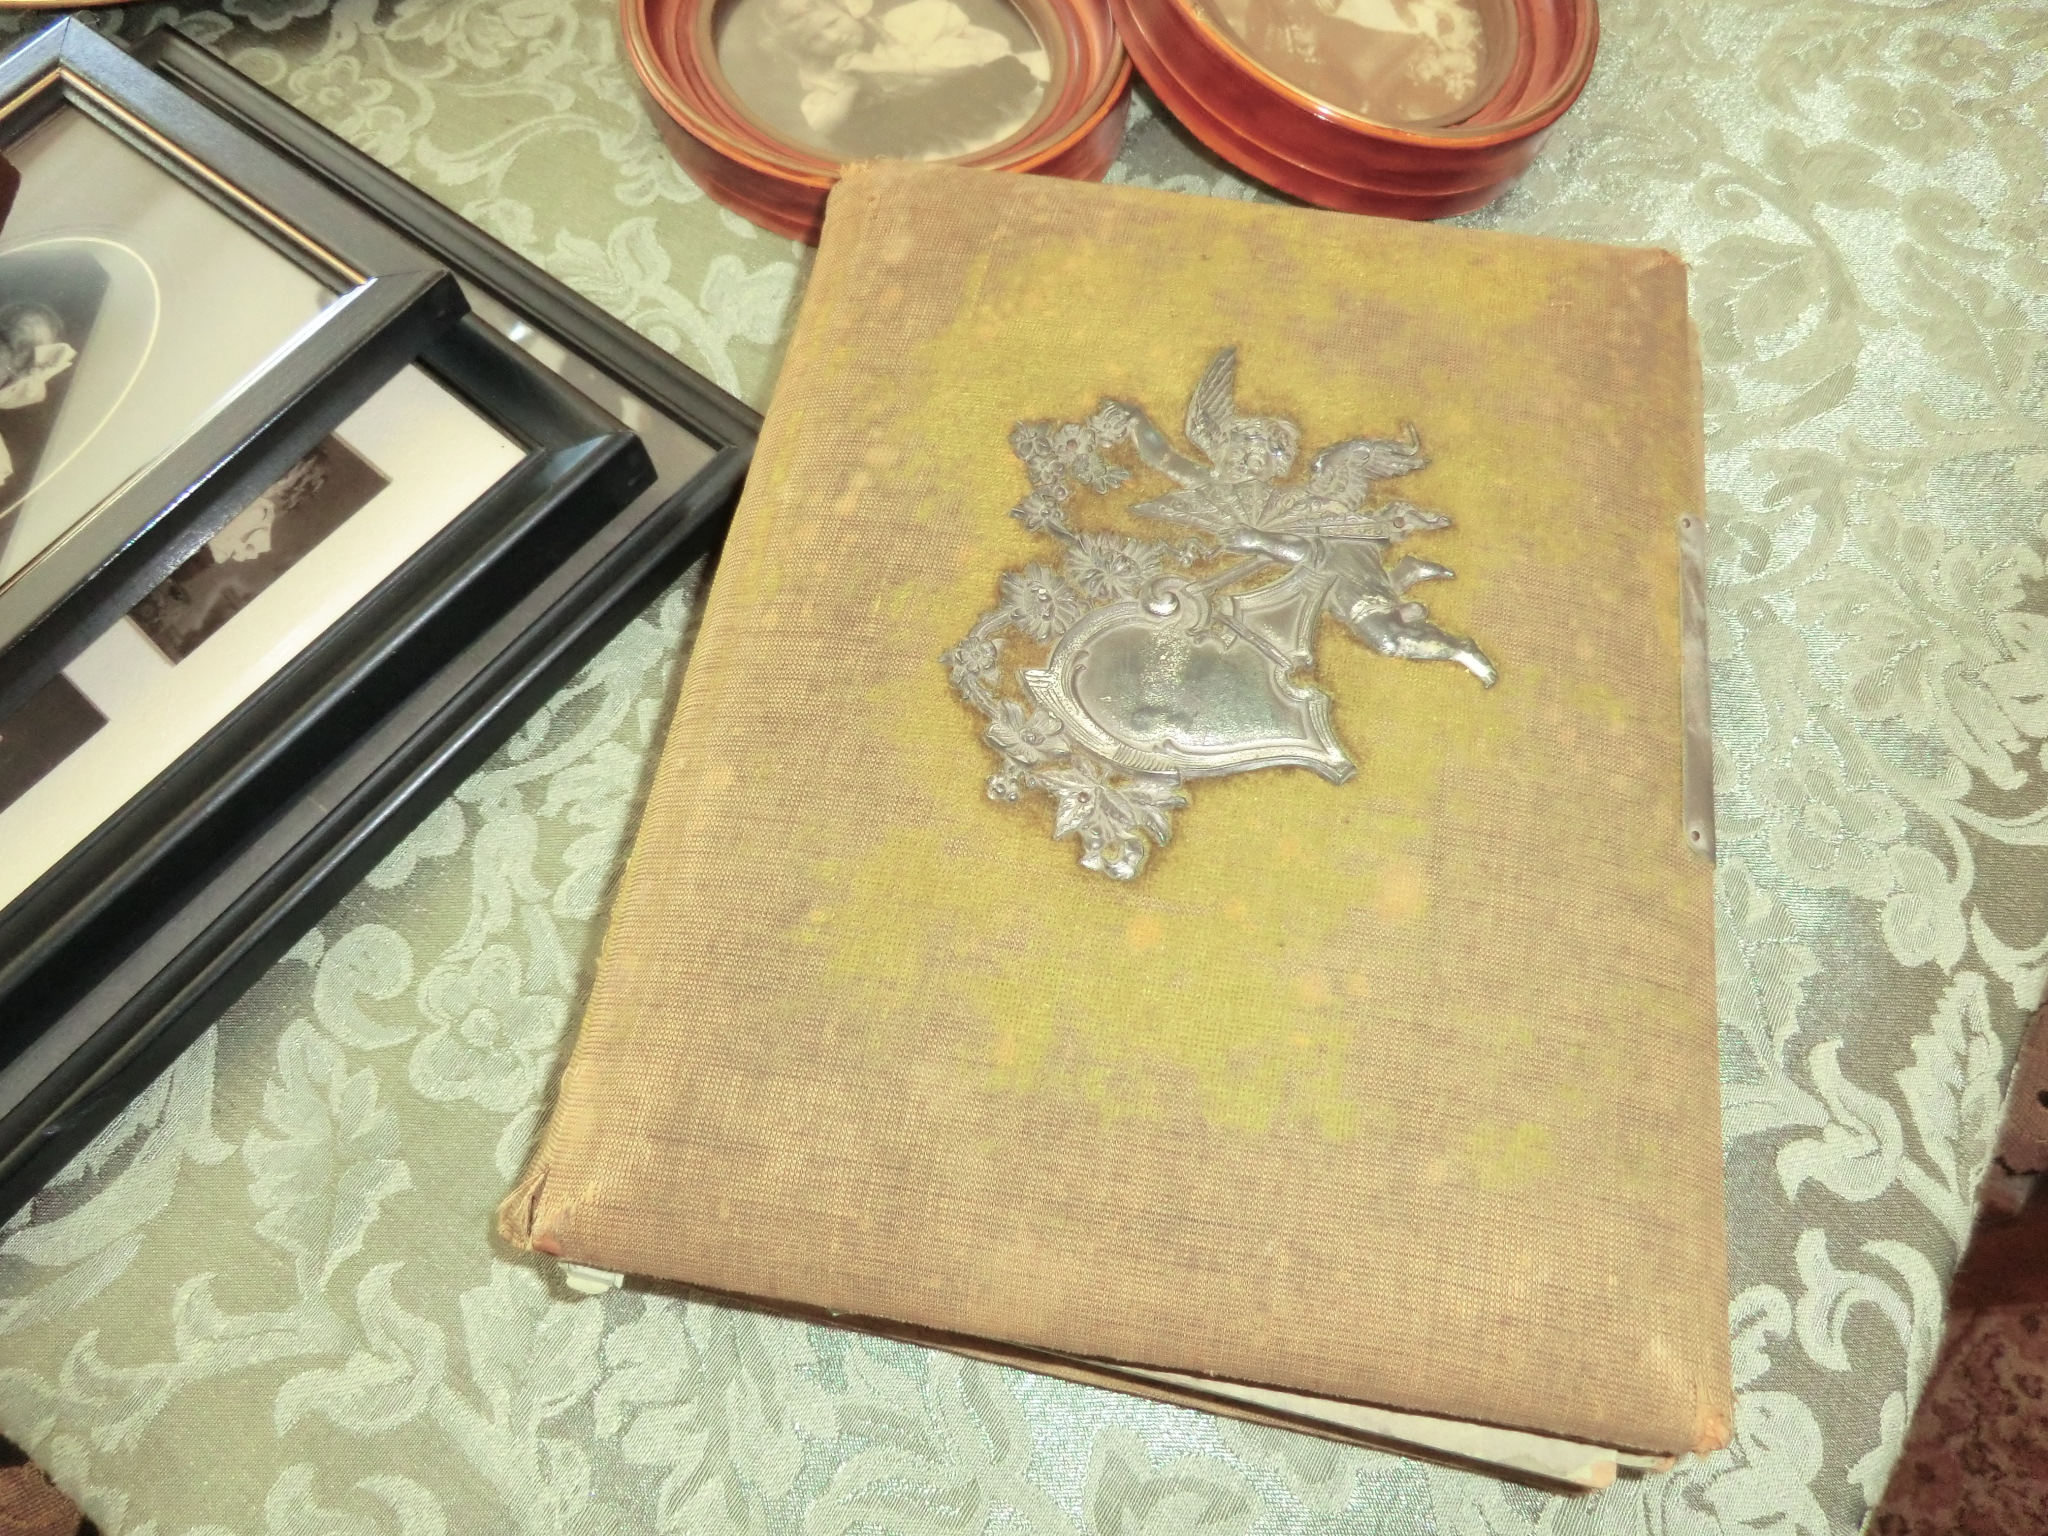 safes, filing cabinets, photo albums, scrapbooks, shoeboxes and other places where papers and memorabilia may be tucked. You’re looking for things like:
- certificates of birth, baptism, marriage or death;
- obituaries or other news articles, like anniversaries;
- funeral programs, wedding and birth announcements;
- photos with names or other notes on the backs;
- insurance, pension, military or other paperwork that may mention births or deaths or beneficiary information;
- wills and home ownership paperwork–even outdated ones;
- a family Bible.
When you find family names, relationships, dates and places in these documents, add them to your charts.
4. What’s available online for free?
There are two major types of family history information online: records and trees. Records are documents created about specific people, like obituaries, birth certificates and all those other examples I just mentioned. Trees are a computerized form of other people’s family tree charts and group sheets. It can be tempting to just look for someone else’s version of your family tree. Eventually you will want to consult those. But other people’s trees are notoriously full of mistakes! Instead, start by looking for records about the relatives you already have identified.
I suggest that you start your search at FamilySearch.org because it’s totally free. At most other sites, you’ll have to subscribe or pay to see all the search results. At FamilySearch, you just need to create a free user login to get the most access to their records.
After logging in, click Search. Choose a relative you don’t know a lot about. Search for that name. Use the different search options to add more information–even a range of dates and a state/province or country–so you don’t have to wade through thousands of near-matches.
The most common records to find on FamilySearch for many countries are census and vital records.
- A census is a tally of residents, voters or another target population. Entries often include details about a household: who lived there, how they were related, how old they were, where they were born, etc. You can often extract family information from census listings, though some things (like ages or name spellings) may not be totally accurate.
- Vital records are official records of someone’s birth, marriage or death. In these, you’ll often find important dates and places as well as names of parents, spouses or others important to the family. They aren’t always totally accurate, and you may only be able to see an index of the record (not the actual document).
As you find search results, compare what they say to what you’ve already learned. How likely is it that this record belongs to your family? Consider how many people seem to have the same name in that location and time period (for example, how many are mentioned in the 1880 U.S. census in that state?). Don’t just look at the search results list: click through to look at the full summary of the entry and, if you can, the original record itself. You may find additional details in these that can confirm whether this record belongs to your relative. You may even find out about new people: your great-grandparents’ parents, for example. Write it all down or begin building a family tree right there on the FamilySearch website (because it’s totally free: learn more about that here.) And one of the greatest keys to long term success is citing your sources. It’s imperative that you make careful note of where you got the resource so that you can find and refer to it again later, and back up your research if it is ever called into question.
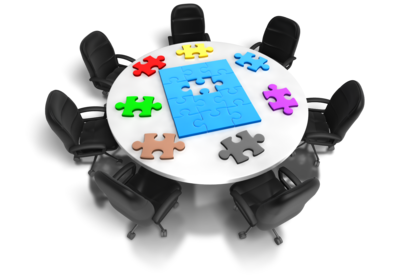 People who research their family history often describe it as a puzzle with lots of different pieces. You will need to assemble a lot of puzzle pieces–information about each relative–to begin to see the “bigger picture” of your family history. You’ll start to sense which pieces may belong to a different family puzzle. You may put together a picture that is unexpected, or has some shadows and sadness. There will likely also emerge heroic, beautiful and touching images.
Ready to learn more?
Up next, read:
7 Great Ways to Use Your iPad for Family History
How to Find Your Family Tree Online
Best Genealogy Software
Search the SSDI for Your Family History
by Lisa Cooke | Mar 18, 2014 | 01 What's New, Certification, Family History Podcast, Research Skills, Source Citation
Listen to the Family History: Genealogy Made Easy podcast by Lisa Louise Cooke. It’s a great series for learning the research ropes and well as refreshing your skills.
Originally published 2009
Republished March 18, 2014
[display_podcast]
Download the Show Notes for this Episode
Welcome to this step-by-step series for beginning genealogists—and more experienced ones who want to brush up or learn something new. I first ran this series in 2008-2009. So many people have asked about it, I’m bringing it back in weekly segments.
Episode 23: The GPS in Action: Using the Genealogical Proof Standard
In episode 20, we talked about using the Genealogical Proof Standard (GPS), the powerful research process used by the professionals. This process ensures the quality, accuracy and success of our research. Researching by these standards now may save you going back and re-doing some of your hard work later down the road.
In today’s episode I’m going to help you put the GPS into concrete action with an example from my own research. And I have some downloadable free tools that will help you do the job! In this episode we also follow up with a listener question on how to export your family tree from Ancestry.com—see below for an updated link.
The GPS in Action
Wouldn’t it be nice to have a worksheet that prompts you through the GPS process and helps you keep track of everything and stay organized? Well, I wanted something like that myself. I think we need more than just a blank form: we need and want a detailed worksheet that not only gives the area to record our findings, but also buy medication online usa incorporates all the key areas of the Genealogical Proof Standard so that we can be sure we aren’t missing anything.
I didn’t find something like this online so I created it myself. Click on the Research Worksheets, under Links below, for both a filled-out sample version and a blank version that you can save to your computer.
According to the Board of Certification of Genealogists the 5 keys elements of the Genealogical Proof Standard are:
- a reasonably exhaustive search
- complete and accurate source citations
- analysis and correlation of the collected information
- resolution of any conflicting evidence
- a soundly reasoned, coherently written conclusion
I’ve incorporated these elements while keep in mind Mark Tucker’s process map worksheet (see Links section below) into my Research Worksheet.
The Research Worksheet is divided into the following sections:
- Research Objective
- Known Facts
- Working Hypothesis
- Research Strategy
- Identified Sources
- Final Conclusions
In your conclusion which is called a Proof Argument you should:
- Explain the problem
- Review the known sources which you identified on your worksheet
- Present the evidence with source citations and the analysis of those sources
- Discuss any conflicting evidence. This important because it may generate another search that needs to occur, or put to rest questions about evidence that on first glance looks conflicting.
- And finally summarize the main points of your research and state your conclusion.
Updates and Links
How to download your GEDCOM from Ancestry.com
Research Worksheet: Example
Research Worksheet: Blank Form
Correspondence Log
Mark Tucker’s GPS Flowchart
by Lisa Cooke | Mar 15, 2014 | 01 What's New, Beginner, Organization, Source Citation
 I recently heard from a NEW podcast listener named Judie. As a beginning genealogist she excitedly dove into family history awhile back. However, she soon became overwhelmed by boxes full of uncited, unorganized information having made the biggest mistake beginning genealogists tend to make. Read her story below. Does this sound familiar? Then my answer to her may help you, too, whether you are a beginning genealogist or you need start over with a few things.
A Beginning Genealogist’s Confession:
Dear Lisa,
“Just found The Genealogy Gems Podcast and love it. I started my family tree research several years ago by joining Ancestry.com. My tree grew quickly with all the information there but after a couple of years of making every mistake possible including merging everyone’s tree with mine, I ended up with thousands of names without documentation. Another mistake was visiting a couple of historical societies and libraries where I printed lots of information but failed to note where it came from. Ok, I’m sure you got the picture.
After a couple of years of doing everything wrong, and several “dead ends” I became so overwhelmed with so many names and unorganized papers that I packed everything in boxes that would most likely end up in a dumpster when I’m gone (sad but true). That was a year ago. After discovering your site I am ready to get back into the search but don’t really know where to begin. Do I ignore all that has been done and start over or is it possible salvage some of what I have? Do you have any suggestions – Thanks, Judie
My Fix It Advice for the Beginning Genealogist
Start fresh. Get yourself a good genealogy database on your computer and start with a more methodical process like I talk about in the step-by-step series Family History Podcast (Episode 1 is on databases) as well as the Genealogy Gems Podcast. Not sure which database to use? I blogged about that here.
Organize. Once you have a good set of habits, have made some progress, and feel comfortable with your database and citing your sources, then you can start dipping back into the box and “processing” each piece of paper.
If it were me I would toss all those merged trees. The stuff from the historical societies and libraries may be valuable, but without documentation, will have limitations. I would only keep the most obviously applicable items, and toss the rest or at least file it away for now. If you stay focused on all that paper it will direct you, rather than you directing the research process. It may cause you to get off track and lose valuable time.
As you review the “keeper” items and deem them worthy of adding data to your database, you will need to make note that the source is unknown. Use the info gleaned as clues, but realize you’ll still need primary documented sources to back it up.
Cite your sources from this point forward. Beginning genealogists often feel like citing their sources is boring and tedious, and can find it hard to see the long term benefits. Believe me, benefits abound and this is one of the most important things you can do for the health of your family tree! Benefits include:
- avoiding going after the same record twice
- creating a bread crumb trail that helps you retrace your steps
- A foundation for future generations to confidently build upon your research
- adding authority to your research and helping you defend it when challenged
Get a quick start with Elizabeth Shown Mills’ Quicksheet Citing Online Historical Resources.  For a more in depth studying of source citation turn to Mill’s book Evidence Explained:Citing History Sources from Artifacts to Cyberspace 2nd Edition
 .
.
Bottom line: Put yourself in charge by following a logical research process. Don’t worry about time or paper having been wasted. The point is you jumped in and gave it a shot, and that’s a good thing. I’m just glad you’ve found Genealogy Gems and I’ve got lots of advice and info on the site, podcasts and videos to help you be successful.
Here’s to success!
Lisa
Page 2 of 16«12345...10...»Last »