by Lisa Cooke | Mar 18, 2014 | 01 What's New, Certification, Family History Podcast, Research Skills, Source Citation
Listen to the Family History: Genealogy Made Easy podcast by Lisa Louise Cooke. It’s a great series for learning the research ropes and well as refreshing your skills.
Originally published 2009
Republished March 18, 2014
[display_podcast]
Download the Show Notes for this Episode
Welcome to this step-by-step series for beginning genealogists—and more experienced ones who want to brush up or learn something new. I first ran this series in 2008-2009. So many people have asked about it, I’m bringing it back in weekly segments.
Episode 23: The GPS in Action: Using the Genealogical Proof Standard
In episode 20, we talked about using the Genealogical Proof Standard (GPS), the powerful research process used by the professionals. This process ensures the quality, accuracy and success of our research. Researching by these standards now may save you going back and re-doing some of your hard work later down the road.
In today’s episode I’m going to help you put the GPS into concrete action with an example from my own research. And I have some downloadable free tools that will help you do the job! In this episode we also follow up with a listener question on how to export your family tree from Ancestry.com—see below for an updated link.
The GPS in Action
Wouldn’t it be nice to have a worksheet that prompts you through the GPS process and helps you keep track of everything and stay organized? Well, I wanted something like that myself. I think we need more than just a blank form: we need and want a detailed worksheet that not only gives the area to record our findings, but also buy medication online usa incorporates all the key areas of the Genealogical Proof Standard so that we can be sure we aren’t missing anything.
I didn’t find something like this online so I created it myself. Click on the Research Worksheets, under Links below, for both a filled-out sample version and a blank version that you can save to your computer.
According to the Board of Certification of Genealogists the 5 keys elements of the Genealogical Proof Standard are:
- a reasonably exhaustive search
- complete and accurate source citations
- analysis and correlation of the collected information
- resolution of any conflicting evidence
- a soundly reasoned, coherently written conclusion
I’ve incorporated these elements while keep in mind Mark Tucker’s process map worksheet (see Links section below) into my Research Worksheet.
The Research Worksheet is divided into the following sections:
- Research Objective
- Known Facts
- Working Hypothesis
- Research Strategy
- Identified Sources
- Final Conclusions
In your conclusion which is called a Proof Argument you should:
- Explain the problem
- Review the known sources which you identified on your worksheet
- Present the evidence with source citations and the analysis of those sources
- Discuss any conflicting evidence. This important because it may generate another search that needs to occur, or put to rest questions about evidence that on first glance looks conflicting.
- And finally summarize the main points of your research and state your conclusion.
Updates and Links
How to download your GEDCOM from Ancestry.com
Research Worksheet: Example
Research Worksheet: Blank Form
Correspondence Log
Mark Tucker’s GPS Flowchart
by Lisa Cooke | Jan 29, 2014 | 01 What's New, Family History Library, FamilySearch, Libraries, Research Skills, RootsTech

 Whether you’re going to RootsTech next week or not, at some point in your genealogical research you’ll want to use the Family History Library (FHL). The FHL, located in Salt Lake City, Utah, USA, has 6.875 billion historical records on microfilm, which contain an estimated 20.6 billion names. That’s a lot of ancestors!
The FHL and its sponsor organization, FamilySearch International, are busy digitizing and indexing all those records, but it’s going to take some time. And some of those records may never be digitized because of publication rights limitations or other issues. So you should know how to access all those great microfilms!
Yesterday I republished Episode 16 of the original Family History: Genealogy Made Easy podcast. It features a great interview with Margery Bell on using the Family History Library. The show notes have updated tips on using the online catalog. Click here for some must-have tips on preparing for your visit. You’ll get a lot more out of your limited time in the library if you know exactly what information you’re looking for and where you’re going to look for it!
by Lisa Cooke | Nov 18, 2013 | 01 What's New, FamilySearch, iPad, RootsTech, Technology
Thinking about attending RootsTech in Salt Lake City, Utah in 2014? Then I’m guessing a trip to the Family History Library (FHL) is part 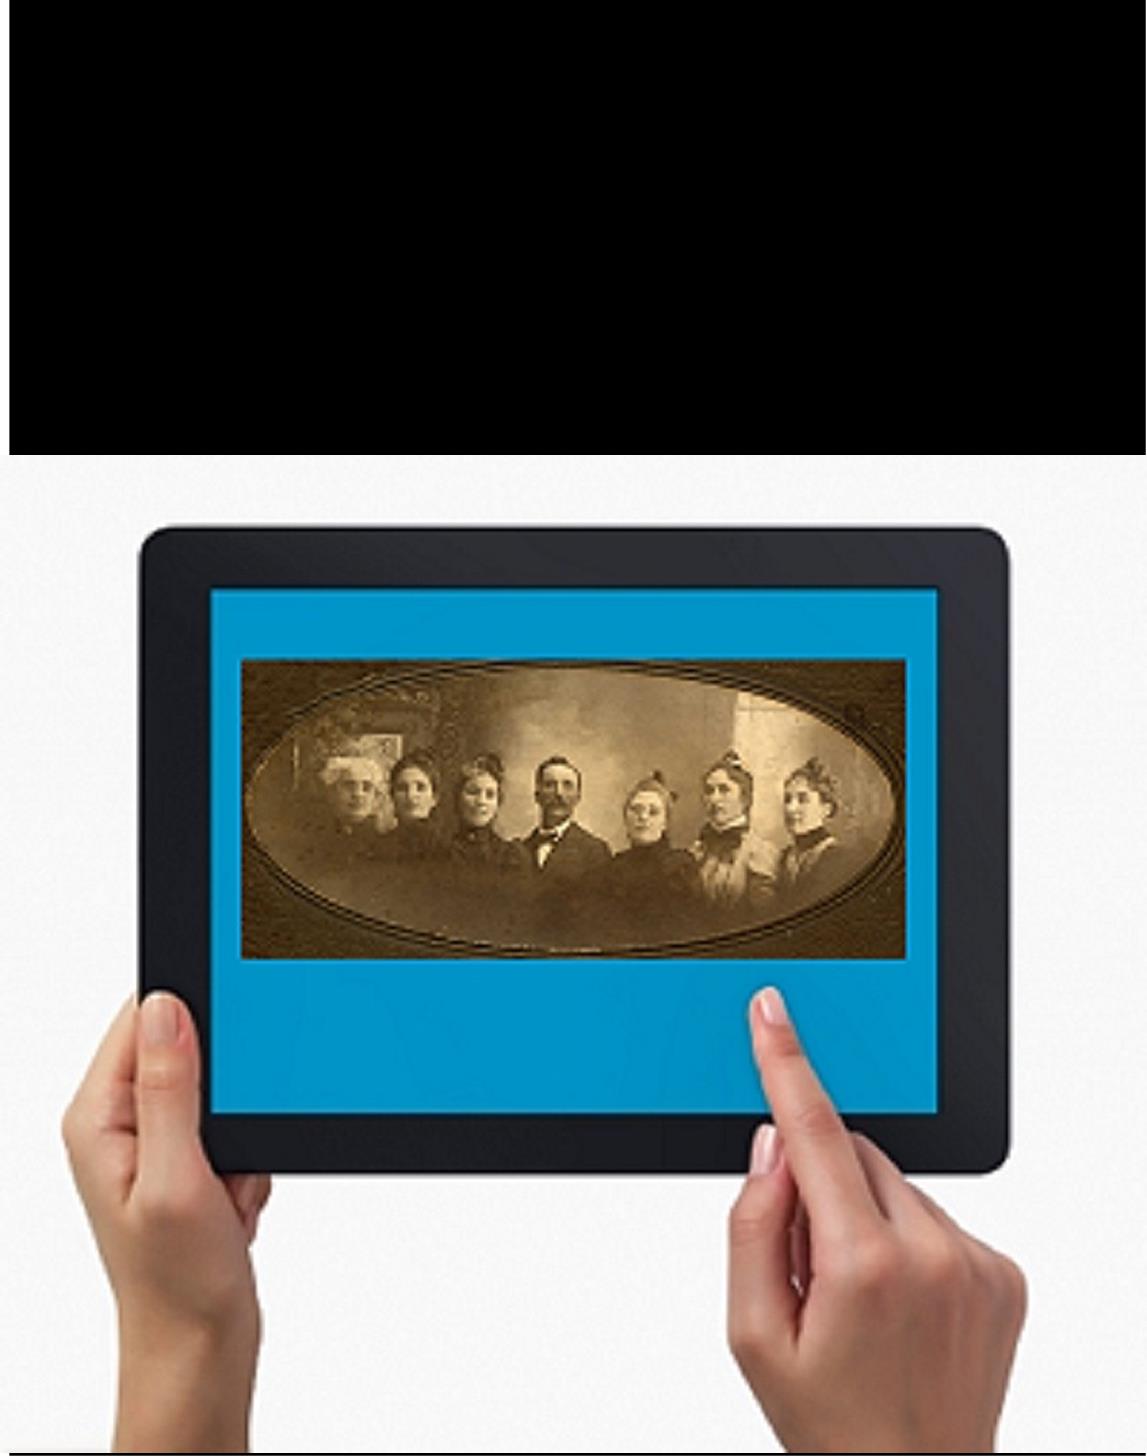 of your plan. Here’s a great tip: bring your iPad or tablet computer and don’t make a single photocopy while you’re there!
Last year, I spent two days researching at the FHL before RootsTech got going. I was up and down a lot between floors, looking at all kinds of books, microfilmed and microfiched materials and even big old maps. On a previous trip, I would have spent a LOT of money on photocopying, even though the copy services there are very low priced. I would have wanted color copies of the maps, so that would have cost more. I would have wasted a lot of time in line to use the copiers–time I would have wanted to spend researching.
But I didn’t waste any time or money. I used my iPad. I have a generation 4 with the rear-facing, 5 megapixel camera, and I used it practically nonstop…
1. Copying material from books. Whenever I found a book page (or a few pages) I wanted to copy, I first imaged the cover pages with the source citation info. Then I imaged the inside pages, making sure the image captured the page number. When I needed to record that a book didn’t have anything on my ancestors, I put a sticky note on the inside front cover saying “checked for Johnsons, didn’t find” (or whatever), then imaged the page with the sticky note on it. This was easy and fast. I sometimes imaged books while standing right in the library stacks! I didn’t have a scanning app on my iPad at the time, but remember you can also use an app like Scanner Pro to scan multipage documents, convert them to PDFs and straighten out and enhance the images.
2. Copying material from microfilm. Okay, it’s not perfect quality, but you can take decent digital images of microfilmed material right from the microfilm reader. First, image the microfilmed page at the beginning saying what the source is (or a note with the source description or even the box with the microfilm number on it). Then stand just in front of the microfilm reader with the iPad. Point the camera down to the displayed image, taking care not to block the projection of the image from the reader above. Here’s an example of what it looks like. Like I said, it’s not perfect because of the angle and lighting. Glare can be a problem so you may want to take a few shots. But you can read these images and most of the time, you don’t need keepsake quality out of microfilm. You just need to capture data. I followed up with some cropping and enhancement editing right on my iPad.
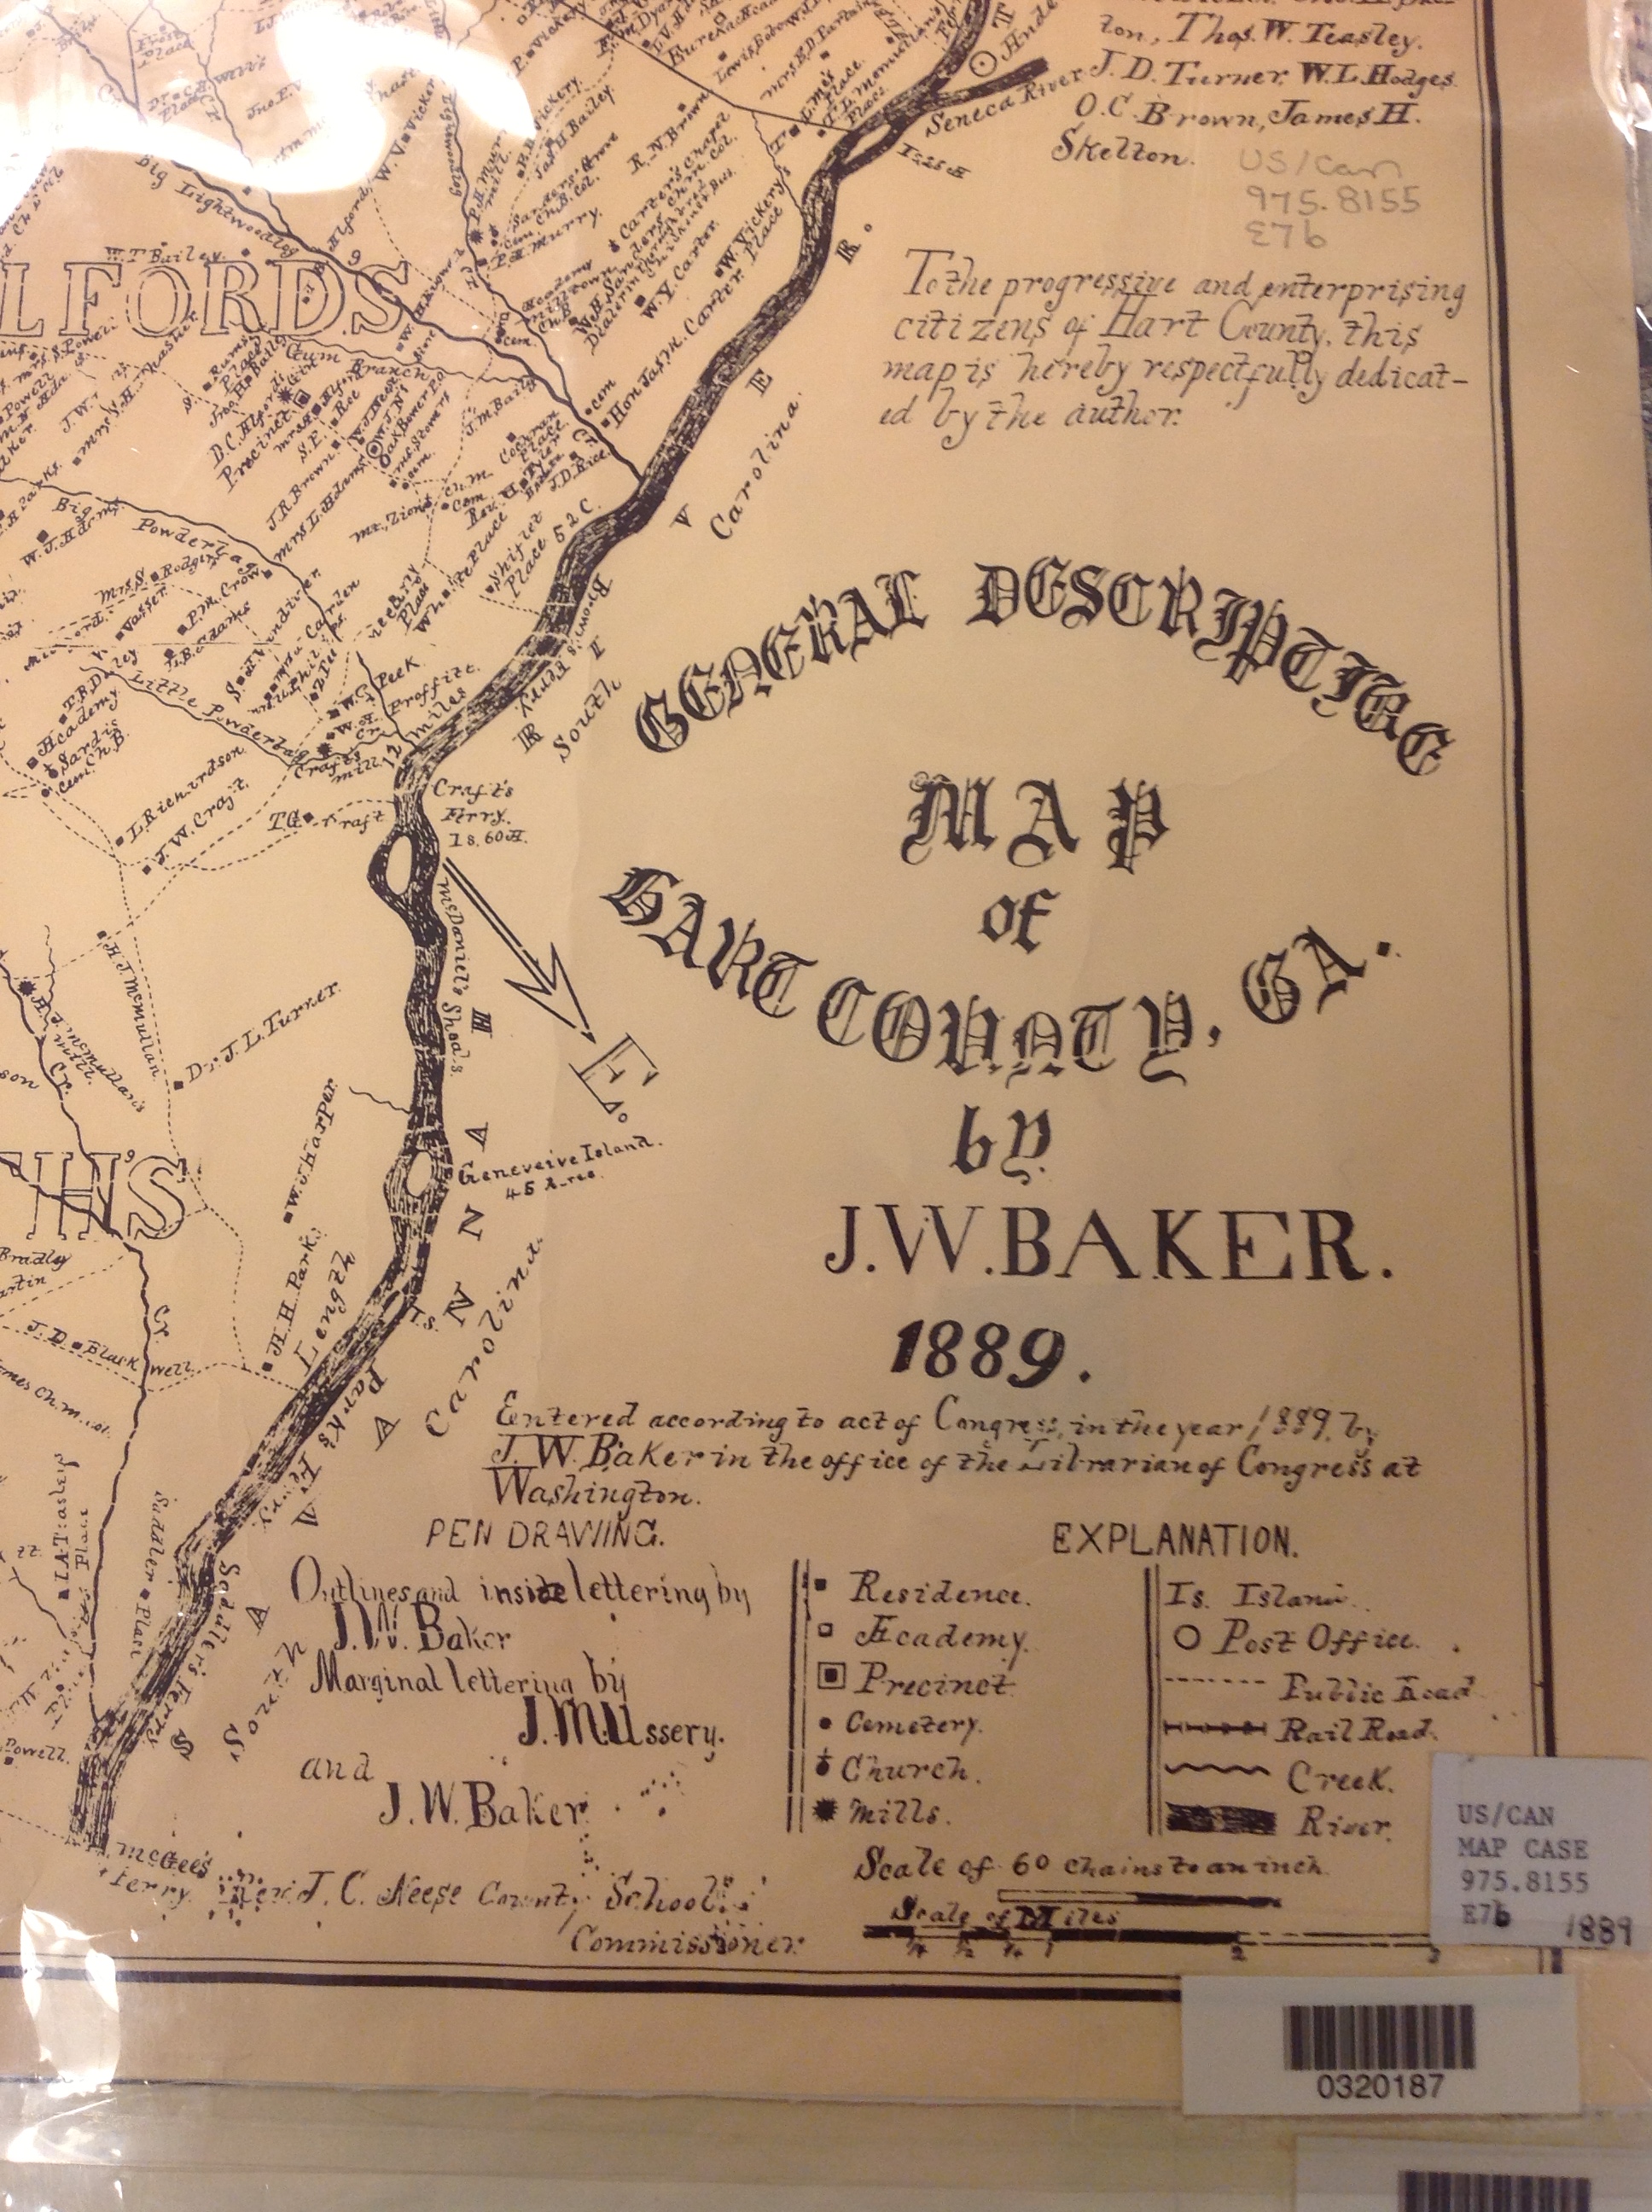 3. Copying material from a map or other folio items. The same general idea applies to imaging maps and other oversized materials. First, image the source citation information, often found on a label at the bottom of the page or on the back. Image the map key, including which way is north, scale, and other details. Then image as much of the map as possible to get an “establishing shot.” Finally, zoom in to the areas of greatest importance to you. Again, it’s not perfect. Laminated items may have glare issues as you can see by the shot shown here. But you may get what you need out of your digital image, especially if you move around so the glare isn’t covering the important areas on the map.
Remember to organize all your images when you get back to your hotel room or home while your memory of the visit is still fresh. Keep source citation shots together with the images you took. Load them into Evernote, if you use it. Organize them as you would other computerized research materials: in surname files, etc.
Finally, remember that fair use and copyright laws still apply to all images you take, whether on a photocopier or your personal digitizing equipment. The Family History Library does allow people to take their own digital images, but not all libraries and archives do. Some repositories rely on the income from copying to fund their facilities. ASK before using your iPad at other libraries! But as you can see, you can save yourself time and money–and have all your research notes and copies already digitized and ready for use on-the-go.
This post was written by Genealogy Gems Contributing Editor Sunny Morton. (Just so you know, I’m not a longtime iPad pro. I learned everything I know about using an iPad for genealogy from reading Turn Your iPad into a Genealogy Powerhouse. Then I adapted what Lisa taught me for the way I research.)
by Lisa Cooke | Nov 11, 2013 | 01 What's New, Collaborate, Dropbox, Family Tree Magazine, Inspiration, Research Skills, Technology
Recently Katharine, a Premium podcast member, asked for my advice on collaborating with a research partner. She wrote, “While I am primarily a digital  researcher, and have divested myself of duplicate papers, my research buddy uses a lot of binders and has many unconnected families in various computer genealogy programs. We need a good way to collect and focus our research.”
As it happens, Genealogy Gems Contributing Editor Sunny Morton and I just co-wrote an article on this topic. “Teaming Up” appears in the December 2013 issue of Family Tree Magazine. In honor of this article, we’ve prepared a companion series of blog posts on collaborating and are hosting a FREE giveaway for a digital subscription to Family Tree Magazine.
First, check out these strategies for deciding how to work with someone.
First, don’t judge or try to change each other too much. If one of you really wants to learn new tech tools or organizational methods, that’s great. But your strategy for staying organized and connected should be as easy as possible for both of you so you can focus on the research itself. Requiring an old-school genealogist to suddenly master Skype, Evernote and Dropbox to work together might be as unfair as asking a newbie researcher to locate unindexed court records and transcribe them in German!
Next, play to your strengths. Is one of you super organized, or a fast typist, or great at merging GEDCOMS or another skill that would move your project forward? Does only one of you have direct access to certain research materials (databases, manuscript sources, etc)? Talk about your individual strengths and interests and then divide the workload accordingly.
Mix it up. Often in any collaboration, one person is more tech-savvy than the other. Sometimes a combination of traditional and up-to-the-minute technologies will work best. For example, maybe you’ll decide to keep your shared files in Dropbox but communicate by old-fashioned telephone instead of Skype. Maybe one of you will organize everything online (or at least on the computer) and then mail printouts to a non-computer-user for review.
 Watch this blog for more on technology tools for collaborating, and check out our article (which has lots of great exclusive stuff!) in the December 2013 issue of Family Tree Magazine
  , available by digital and print subscription.
Check out the other posts in this series:
Tips for Collaborative Genealogy: Dropbox for Genealogists
Tips for Collaborative Genealogy: Evernote for Genealogists
Tips for Collaborative Genealogy: Sharing Genealogy Files Online for Free
by Lisa Cooke | Oct 14, 2013 | 01 What's New, Evernote
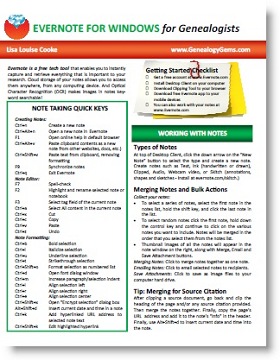
 Evernote is certainly the fastest-growing (and FREE) note-taking technology out there, so it’s no wonder that it is incredibly popular with genealogists. But there’s a lot packed into it and I’ve noticed that many genealogists aren’t taking full advantage. Here’s are two of my favorite tips that I use all the time from my brand new Evernote for Windows for Genealogists cheat sheet:
1) Create a New Note: When you’re working on your computer and you want to make a quick note of something in Evernote, you can get there with lightening speed by pressing these quick keys simultaneously: Ctrl+Alt+n.
2) Instant Note Search: What if you are knee deep in your research and you have a note that you need to quickly reference? Simply press Win+Shift+f from anywhere on your computer and Evernote will instantly open with your cursor in the search box ready to type a keyword and search!
Try these Evernote tips now! And then get LOADs more helpful tips in this 4 page laminated Quick Reference Guide, like: